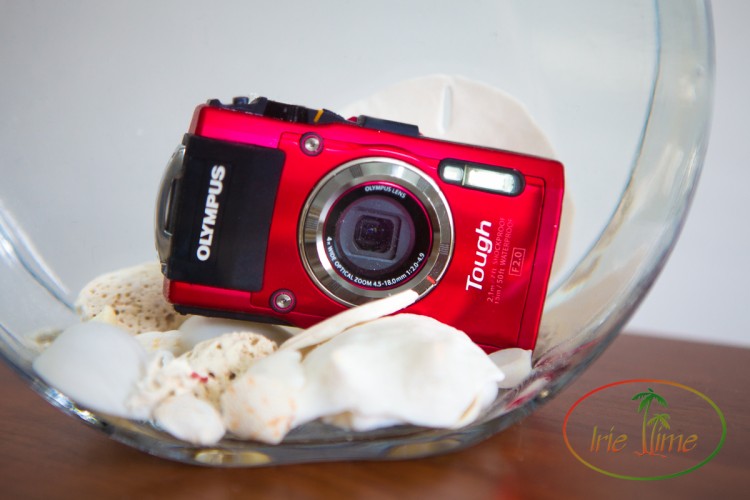
When you get a new underwater camera, excitement takes over. You want to get it out of the box as soon as possible and put it to work. With the excitement, many of us overlook, and later forget, the care needed to giving your camera a long life. Here are a few reminders to keep in mind when caring for your underwater camera.
Read the Manual!
Although this is what I recommend for every camera, it is particularly true with underwater cameras which require more care. Carefully read the instructions provided with your camera with respect to cleaning and long-term maintenance. Every camera is different, so don’t presume that what you did for your last camera will work for your new one.
Clean After Each Use!
Once you’ve read those instructions, don’t forget to use them. You should clean your camera after each use, whether used in fresh water or saltwater, or even just out in the elements. Any sand or grit can interfere with the camera’s operation if not removed. Be careful to follow the manufacturer’s instructions to be certain that you are aware of the sensitive areas, and their recommendations for cleaning. With my Olympus TG-3 and TG-4, these are the steps I follow in cleaning after use, provided by Olympus:
- Fill a bucket or sink with clean fresh water. Make sure that it is clean, fresh water, and not saltwater or waters with chemicals added.
- Make sure all doors are closed firmly, and that the locks click in place.
- Immerse the camera in water with lens surface downwards.
- Press the power button several times in the water. This will open and close the lens cover thus removing any debris. This is required to avoid lens failure & ensure the lens cover remains free from obstruction. If not cleaned and used in this way it may cause damage to the lens gearing or may cause the lens cover to become stuck.
- Take the camera out of the water and shake it gently to remove excess water. Press the power button and check to see if the lens cover is moving smoothly.
- Dry camera with a damp clean cloth.
- Open all doors and let the camera dry.
- Once dry, remove any foreign objects. such as sand or hair, with a soft, lint-free cloth.
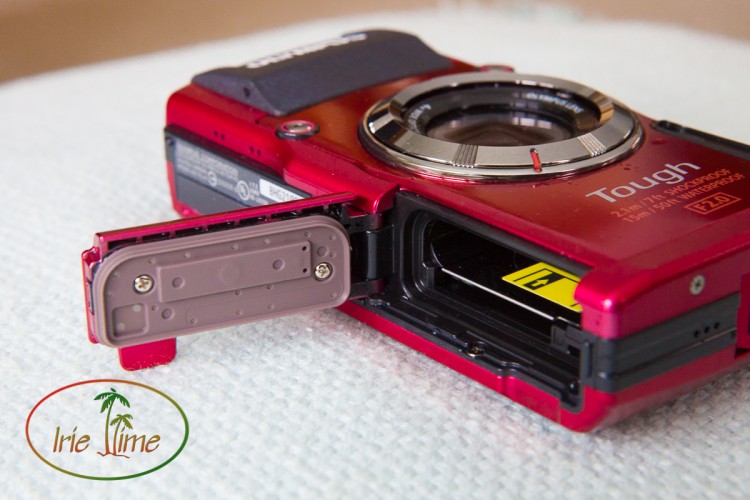
Maintain Those Seals!
Regular cleaning is essential to caring for your underwater camera, but don’t forget long-term care. Seals can deteriorate or become cracked or torn over time. Inspect your seals after each use to be certain that they haven’t been compromised. However, that is not enough. With my TG-3 and TG-4, Olympus recommends seal replacement annually. Although it’s not terribly obvious how you do this, I recently sent both my cameras in for seal replacement to Olympus, so I can explain how it works. When you go to the Olympus Service & Repair page, you select from the menus your model of camera. It then pops up a screen with a basic repair quote, which can be a bit shocking. When you enter the TG-4, the basic repair price quoted is $139.02. Ouch! But don’t run. It doesn’t cost that much to get the seals replaced. I contacted the Olympus customer support line to find out. Seal replacement actually costs $29.00 plus $7.85 shipping, plus local tax. How do you get past the screen which quotes $139.02? Here’s how.
Go to the Olympus Service & Repair page. Click on “Get Your Free Repair Quote Now.” In the comment box on the online submission form write: “Seal Replacement.” The online form will authorize your card for the stated amount on the online page, but Olympus will only charge the $29.00 + shipping + tax when the replacement is done. Make sure on the form you select “Under Warranty,” even if it is not. That way you don’t have to pay up front. Once the cameras are logged in by the service department, they will send you an email to call in to approve the payment. You can track the status of your repair on the Olympus site as well.
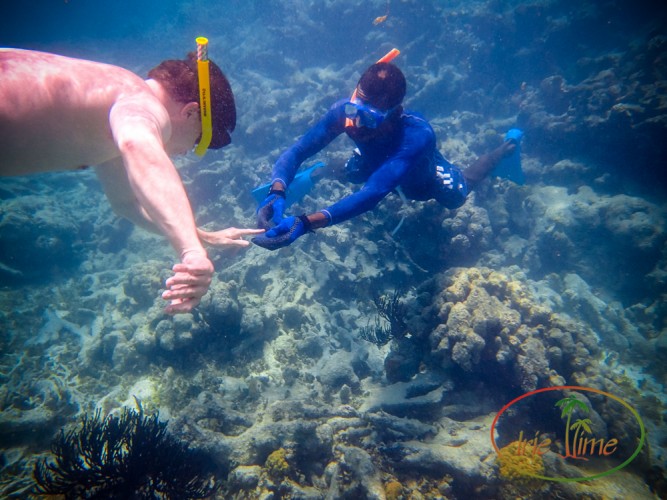
Our cameras are good as new and ready for the Bahamas!
For more photography tips, browse our posts, and click the image for more information: