Note: Links in this post include affiliate links, and I receive a commission on purchases. Thanks!
An important part of traveling for me is not only relaxing in some of the most beautiful places in the world, but also taking time for my primary hobby, photography. But I was stuck in a rut. I found myself shooting the same thing over and over again. My Canon 24-70mm/f 2.8 lens was on the front of my camera most of the time, and I found myself seeing and shooting the same compositions on nearly every trip. I needed to break out. When we last traveled to Nevis in 2011, 1745 of the 1959 shots I took were with that lens. That’s a whopping 89% of all shots taken. Since I began shooting film again in 2014, I had some more variety, but I decided that I needed to make a bigger change. So I left the 24-70 at home. It was time to experiment, and travel with prime lenses.
Replacing Zooms with Primes
It’s a little scary leaving your crutch at home, but I needed to mix it up. So I decided to rent a couple prime lenses to see what suited me for travel. My bag was going to get heavier, a fact I was reminded of every time my husband pulled my camera bag from the overhead compartment on the plane. I already owned the Canon 35mm/f 1.4, the Canon 85mm f/1.8, the Canon 135mm f/2, and the Canon 200mm f/2.8. I wanted to try some more nighttime photography and would miss the wider view of the 24mm, so I decided to rent the Canon 24mm f/1.4. I also wanted to see if the Canon 85mm f/1.2 was worth the upgrade, so I rented that lens as well. I decided to leave the Canon 200mm f/2.8 at home and just bring the Canon 1.4x III Extender. The extender would extend the reach of the 135mm to 189mm, losing only one stop of light, but more importantly, giving me some options without adding much more weight.
What Did I Pack?
So here’s what I packed for my digital kit:
- Canon 5d Mark II
- Canon 24mm f/1/4
- Canon 35mm f/1.4
- Canon 85mm f/1.2
- Canon 135mm f/2.0
- Canon 1.4x III Extender
I also packed a film kit including:
- Canon 1v (works with all the lenses for my digital body)
- Mamiya 645 Pro TL
- Mamiya 80mm f/1.9
- Mamiya 45mm f/2.8
I included the Fotodiox adapter (Mamiya 645 to Canon EF), allowing me to use the Mamiya lenses on the Canon bodies.

I selected lenses so I could limit the number of filters I needed. I always use circular polarizers in the islands as sunshine and water are on tap every day. I also bring neutral density filters and some grad filters for shooting water and sunsets. This kit used filters from 67mm to 77mm so I could limit the number of filters and step up/down rings. I also packed the Olympus Tough TG-3 and TG-4, but the use of those cameras was limited to use at the beach, on boats, and underwater.
I love the Mamiya 645 Pro TL, but this is probably the last long-distance trip it will be in my bag. The camera/viewfinder/winder are not very heavy, and break apart to fit in my bag, but the lenses add a lot of weight. From now on, I see bringing my Mamiya 6 only for medium format film photography. It is so much lighter and compact that it just makes more sense for air travel.
Travel with Prime Lenses – My Conclusions
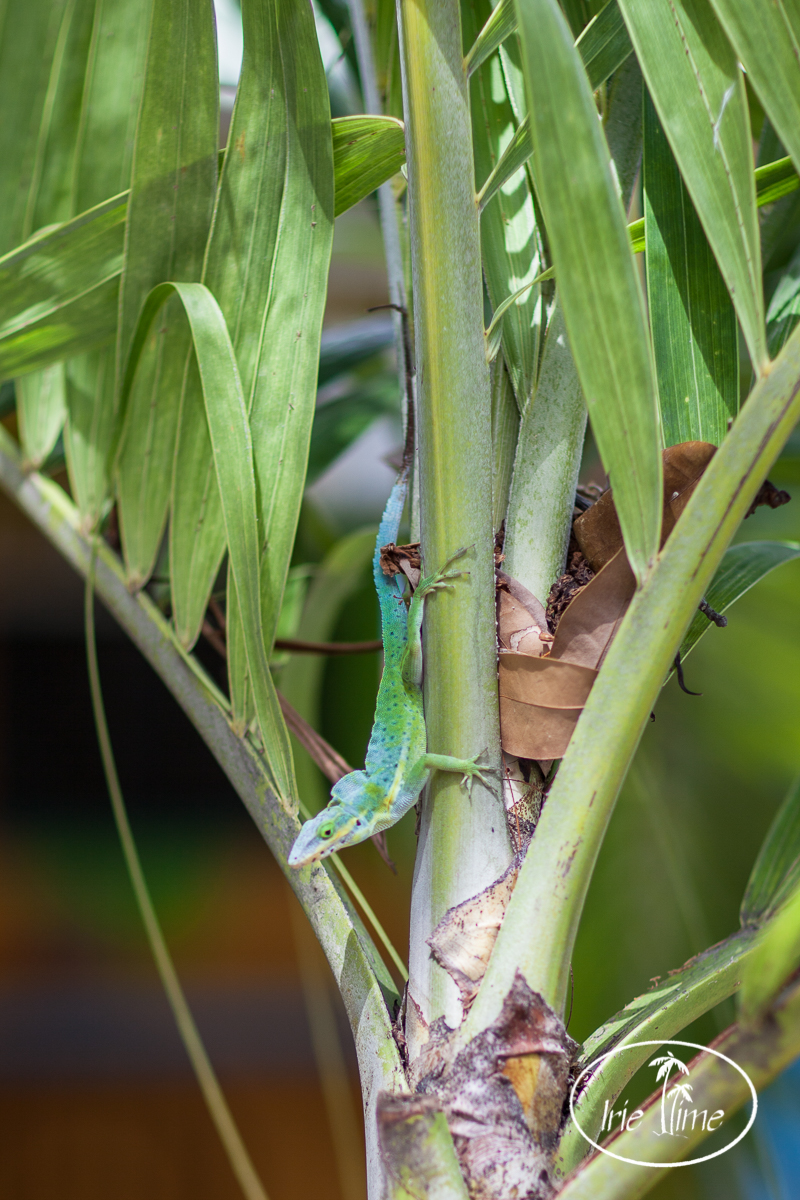
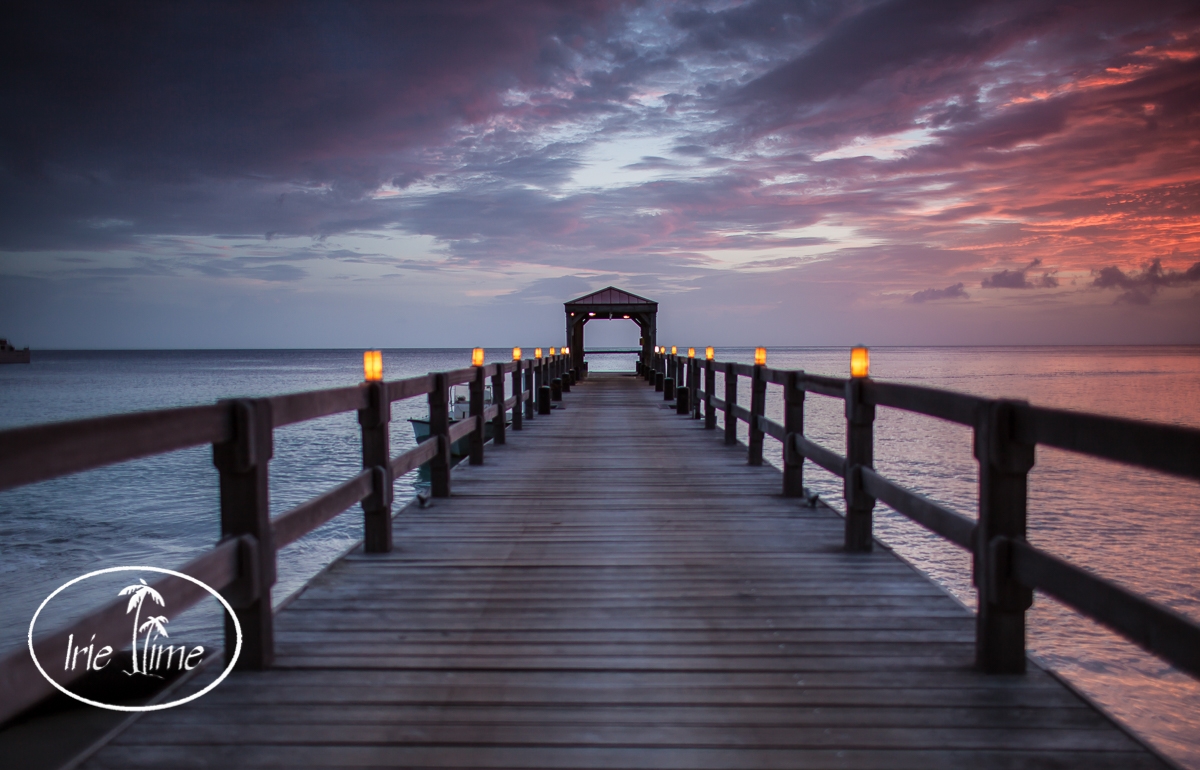
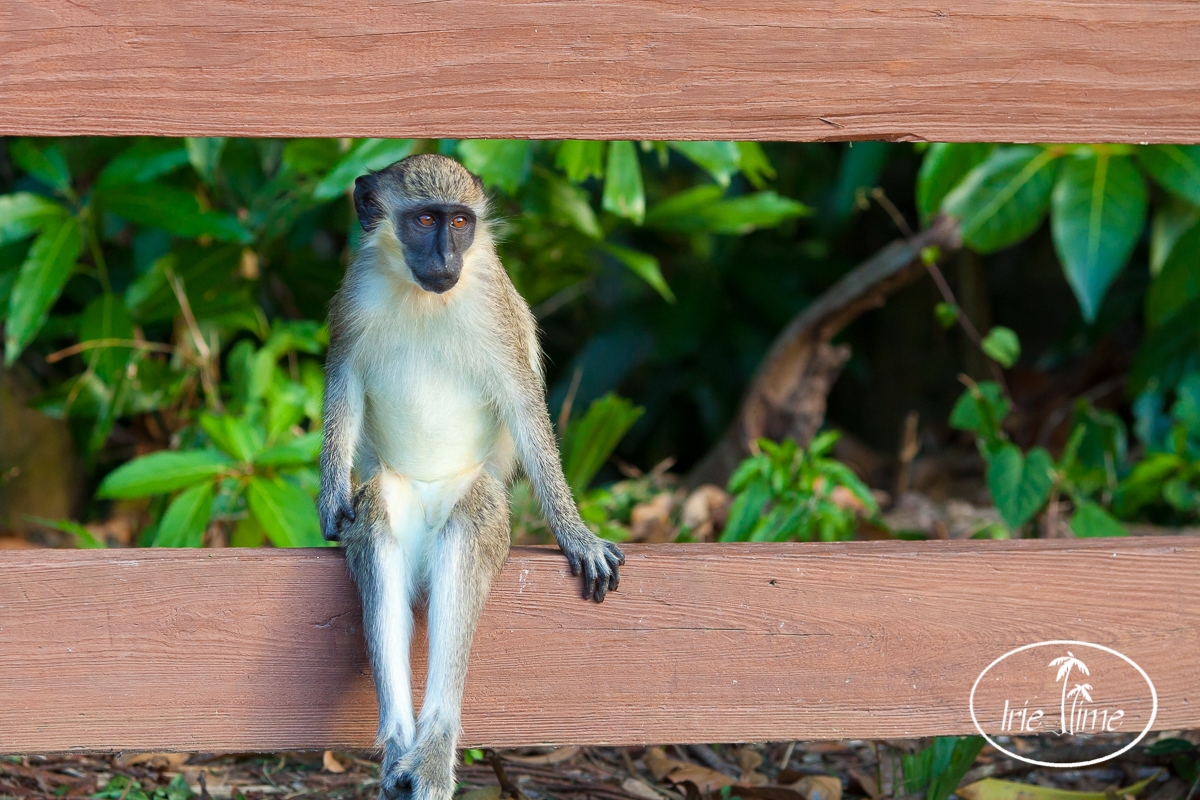
So how did this kit fare? I certainly looked at things differently. I was not going to be bringing the entire kit wherever we went. I left the main bag in the hotel, and picked no more than two lenses when we went exploring. So to visit restaurants or bars, I brought the 35mm and the 85mm. To hunt for monkeys, I took the 135mm and the 1.4x extender. To shoot the night sky or the dock, I took the 24mm. I had to make decisions before I left, and then adapted to what I saw. I didn’t lose many shots as a result. What I lost was the crutch of the zoom and had to actively think about how I was going to compose my shots given the limitations of the focal lengths I had available. I felt more creative and able to bring some new compositions into my work.
With all the digital images loaded (film will take a bit to be processed and scanned), here was the breakdown on the lenses used: 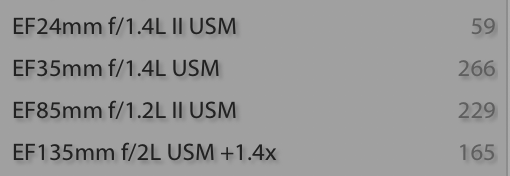
Would I buy either of the lenses I rented?
If my 24-70 dies, I would buy the 24mm f/1.4, but for now, I cannot justify the expense. The 85mm? I have read countless articles comparing the 85mm f/1.8 and the 85mm f/1.2. The articles talk about how sharp the 85mm f/1.8 is and comment that the 85mm f/1.2 is slow to focus. Perhaps film has slowed me down, but I did not find any difficulty with the speed of focus on the 85mm f/1.2. Those articles also speak of the “look” of the 85mm f/1.2, which is not duplicated in the 85mm f/1.8. With that, I agree. I loved the look of the 85mm f/1.2, and will keep it in mind down the road when I have some spare cash to spend on gear. If you can’t stomach the high price of the 85mm f/1.2, the 85mm f/1.8 is a very sharp lens at a very reasonable price.

For those interested in renting, I rented from Borrow Lenses. I rented a wide angle from them for our trip to Ireland, and this experience was no different. My rental arrived timely, the gear was in great condition, and it was easy to return. I would highly recommend them if you are looking to rent to try out new gear.
If you’re stuck in a rut, but not ready to travel without your zooms, try a local photowalk or trip. Take only one or two lenses and challenge yourself to see things differently.
Also, take a look at our more recent post about traveling with the “holy trinity” of Canon prime lenses here!
We are KEH Affiliates, and earn commissions on purchases made using the links below – Thanks!


SaveSave