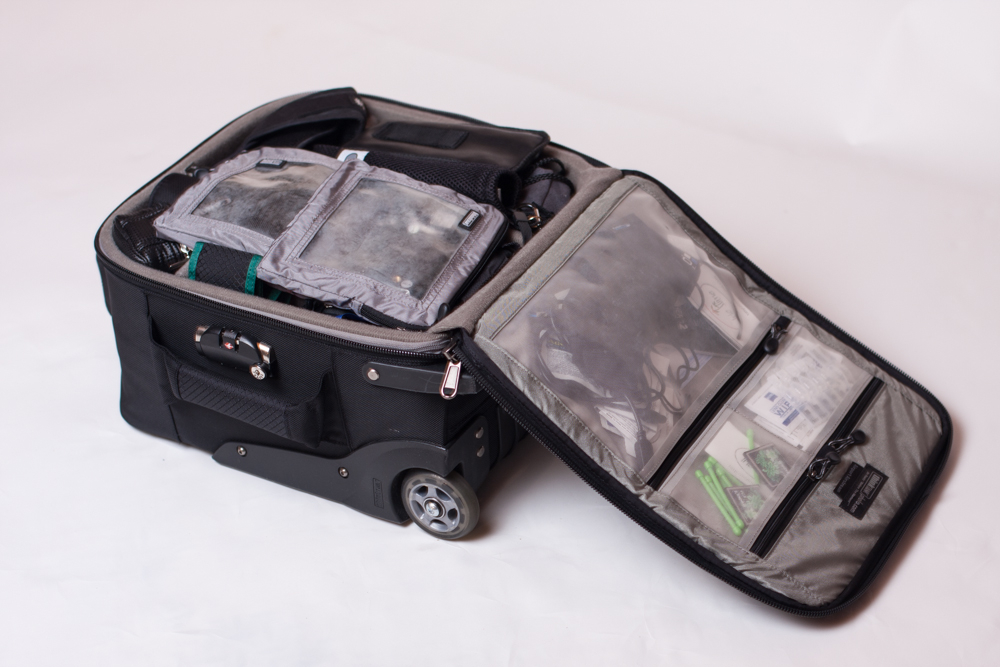
We’re back from another trip, and it’s time to look inside my bag to determine what was worth its weight in gold and what wasn’t worth the weight in my carryon. Once again, I used my Think Tank Airport AirStream to carry my gear. I have not found a better bag as far as its size and layout. The build quality on Think Tank products is the best. I have had nothing but good experiences with this bag no matter what the terrain. For more details on this fabulous bag, check out last year’s, “What’s in my Bag? Nevis” page.
Before getting into what was packed inside, I should note that on our trip to the BVI, we flew from Chicago to San Juan on a Boeing 737-800, and were allowed the standard carry-ons. When we traveled from San Juan to Beef Island (EIS), we flew on an AT7. This is a 64-seat turbo prop plane, with very small overhead bins. Thus, everyone was allowed only one small carryon, such as a purse. All roller bags had to be checked. Checking them consisted of having them put a tag on and placing it on a rolling cart. Upon arrival in Beef Island, I had to cringe as I watched the American Airlines baggage handlers remove my precious cargo from the plane and load it on the cart. I have to say they were really careful, perhaps because the stories of tossing bags around are exaggerated or perhaps because the entire plane full of people is standing on the tarmac watching the process. Thus, even though my bag met all International requirements, I was still required to check it.
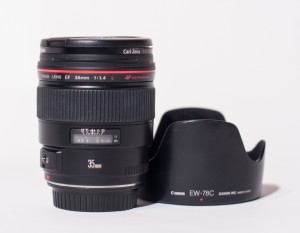
I switched up the arrangement of my bag and also the gear I brought with on this trip. Previously, I had packed my bags with the camera body separate from my lenses. However, on previous trips, I noticed that there were times when we first arrived at a new place that I wanted to pull my camera out and snap a few frames. Pulling the lenses out of their bags and pulling off the caps and assembling the camera was cumbersome, and exposed me to a greater risk of dropping or losing something. This time, I packed the bag with my Canon 35mm f/1.4L attached to the body, a Canon 5D Mark II
, ready for action. When I learned that we had to check our roller bags on the short flight to the BVI, I quickly pulled out my camera with lens and tucked it in my handbag. My husband pulled the ThinkTank Artificial Intelligence Laptop Bag
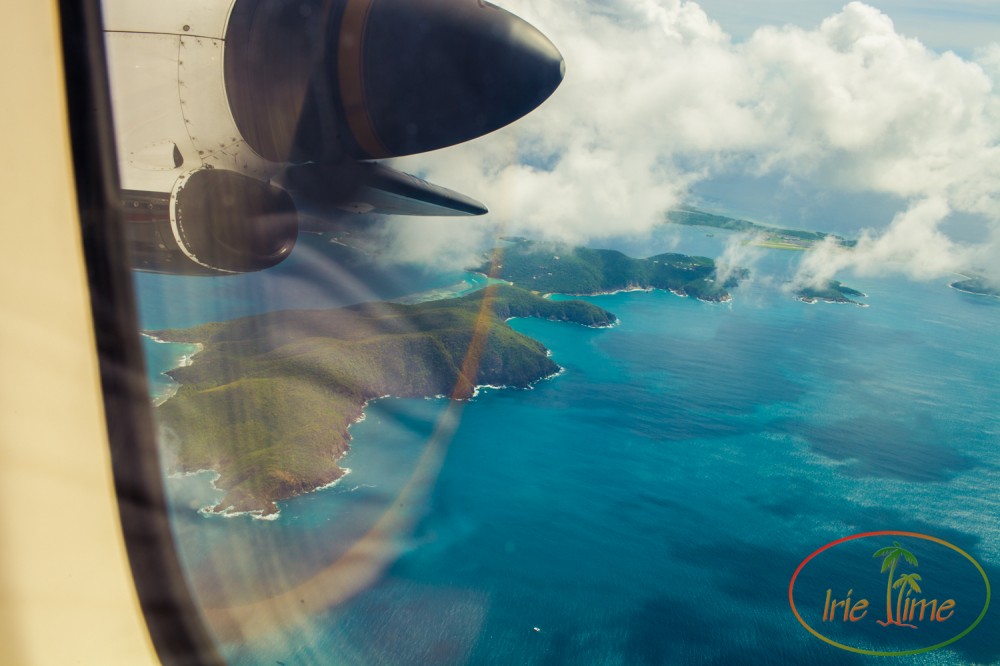
out of the front pocket. That way if the baggage handlers were rough, I would have a functioning camera, at least one functioning lens, and my laptop. I was also able to snap a shot in flight as we flew over the islands!
I also left the battery grip at home this year. Last year, I brought it, thinking I might want the battery length to do star trails. This year, I knew we would be staying on Scrub Island, which is a marina, and would be lit all night long. So I decided to leave the battery grip home and just bring an extra battery. I think I will do this again next time unless I really have a good reason to bring the grip. The camera is a lot lighter and less obvious without the grip. So many times I hear, “Wow, big camera!” when they are really just seeing the grip. I would rather blend a bit more.
Lenses
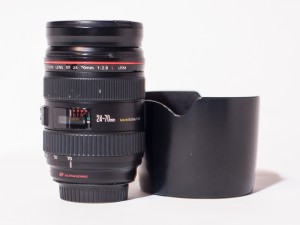
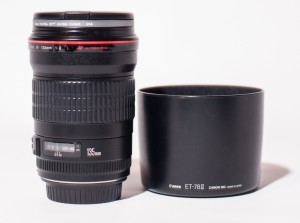
To start, I had to think about what we would be doing to try to anticipate the best lenses to pack. I knew I wanted my Canon 35mm f/1.4L for all those great views of the surrounding islands. I knew I wanted my Canon 135mm f/2L for the detail shots. As much as I love my primes, I knew I couldn’t leave my Canon 24-70mm f/2.8L
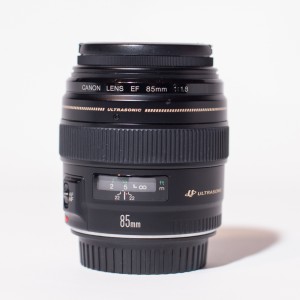
at home for a few reasons. First, it’s my go-to lens. When I can only take one lens, I take this one. It has a good range and I’ve taken some of my best shots with it. I also know that on my last trip, 1745 of my 1959 shots were taken with this lens. Second, it’s my security blanket. When in doubt, I grab it. As much as I love my primes, it’s tough to let go of a lens that has served you so well. I also packed my Canon 85mm f/1.8
. I’m not sure why, other than it covers the bases in prime lenses. However, I haven’t yet fallen in love with this lens. I’m still working on it.
I knew for this trip that we had several day trips to other islands planned, two which involved getting wet. We planned a snorkeling trip to Anegada, and a trip to Virgin Gorda, including The Baths. I packed dry bags which could hold all my gear, not knowing the details of our transport. Those dry bags came in handy, particularly when we did “The Crawl” through The Baths. The water was quite high, and at one point, I walked out to get a shot and a huge rush of water covered me. I could lift my camera up, but I was glad I had other essentials inside a dry bag in my tote. Given the amount of space in my drybags, I knew I had to limit myself to one lens. That reaffirmed my decision to bring the 24-70/2.8. It was my exclusive lens for both day trips and served me well.
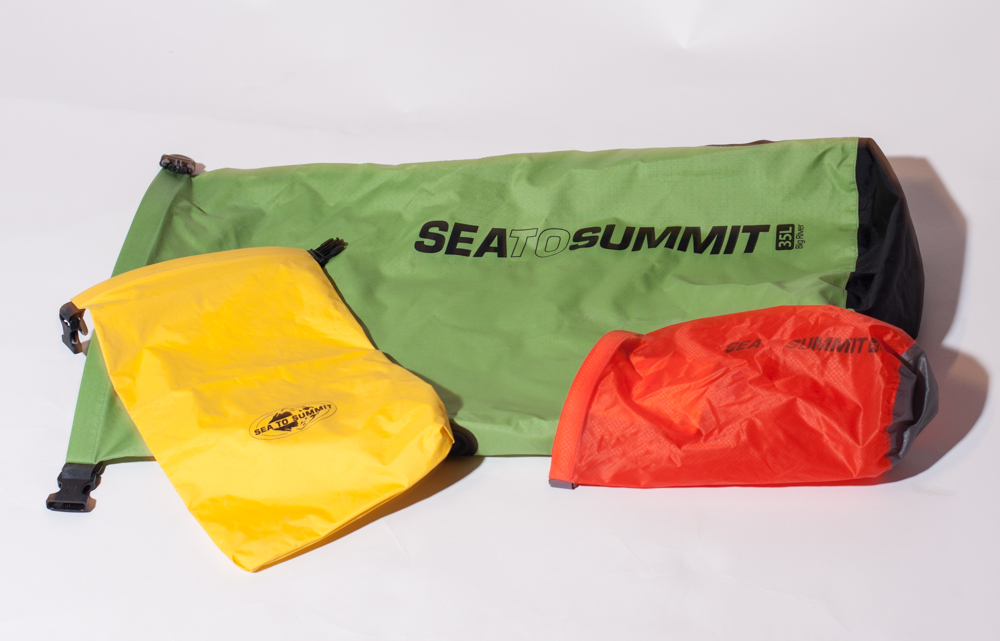
While I am on the topic of drybags, I like the Sea to Summit brand. They come in all different weights and sizes. I had the 4L Lightweight Dry Sack (yellow) for my camera, a smaller version (orange) for the GoPro accessories, and a Big River 35 Liter Dry Bag
(green) for snorkeling gear.
Let’s peek into Lightroom and see what lenses were used most.

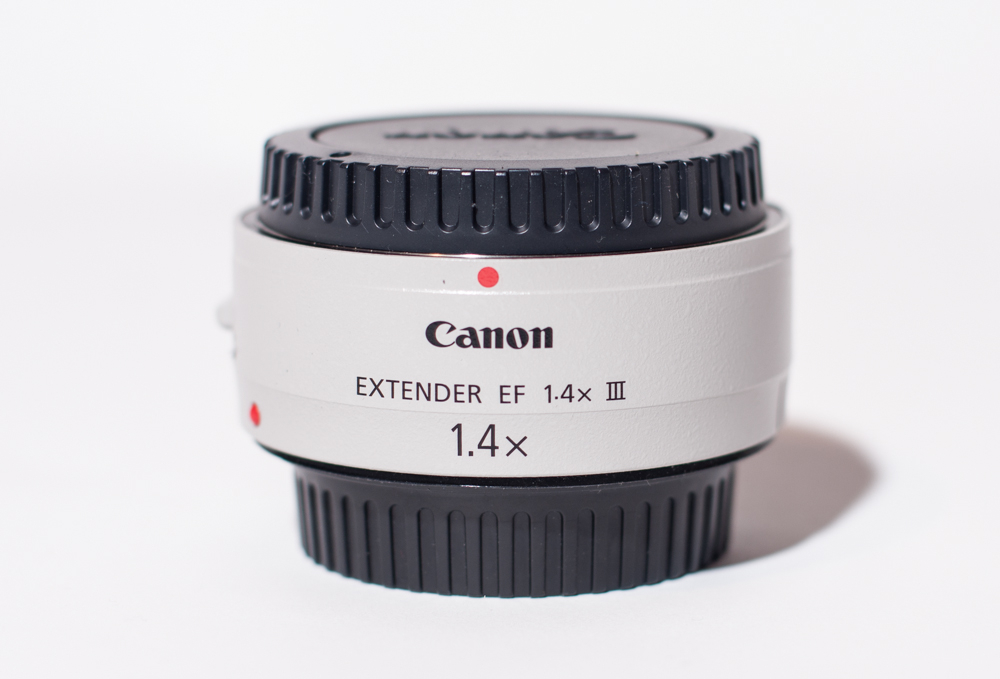
Once again, the 24-70/2.8 dominated, largely because for two days alone, it was all I used. Following closely behind was the 35/1.4. I’m really loving this lens. I love the fact that it’s the classic 35mm focal length, handy in so many situations when you are exploring a new place, and that it’s fast. The 135/2 saw some use, and you will also see a few shots with the Canon EF 1.4X III Telephoto Extender. This little device fits between the camera body and the lens and gives you a longer reach. The 135mm with the 1.4x extender becomes a 189mm lens. It is small (2.8 by 1.1 inches) and lightweight (7.9 ounces), so you can always have it with you and avoid the necessity of bringing the 200mm lens. It is only compatible with fixed focal length L lenses 135mm and longer, and on the 70-200/2.8L, 70-200/2.8L IS, 70-200/4L, and 100-400/4.5-5.6L. You also lose a stop of light, so keep that in mind. However, when you need a bit more reach, it’s a great accessory to have.
You do not see the 85/1.8. I just never grabbed for it. It’s small and doesn’t weigh much, but it should probably stay home.
Filters
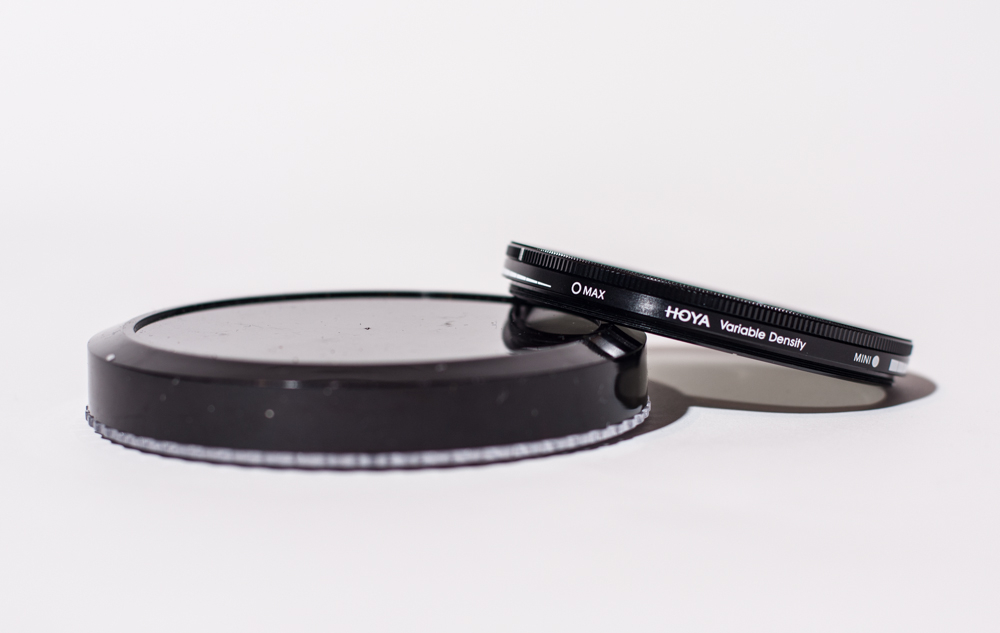
I used my polarizing filter and my variable ND filter quite a bit on this trip, as you can expect given all the water and sunshine. I did upgrade my ND filter this year from the Fader ND Mark II to the Hoya 77mm Variable Neutral Density Filter. I still haven’t been able to justify the price of the Singh-Ray Vari-ND Variable Neutral Density Filter
, so the Hoya was a nice upgrade without a killer pricetag. I found the build on the Hoya to be more solid than the Fader. It was more precise in its adjustments than the Fader, and I thought the image quality was better – – plus, I never saw any hairs or fuzz stuck in between the glass like I did on the Fader.
Lighting
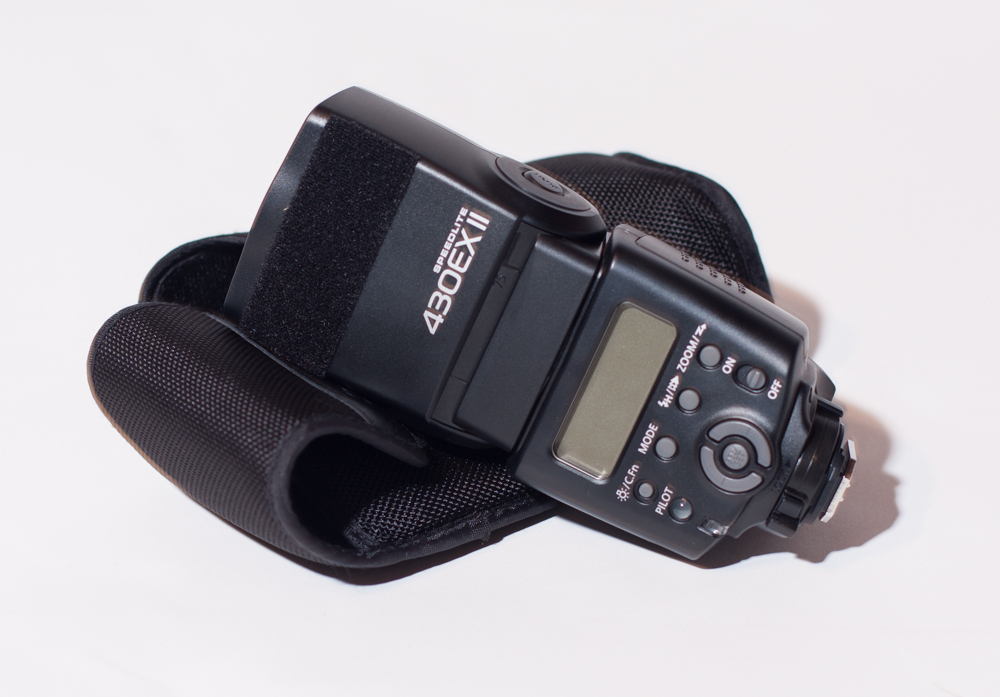
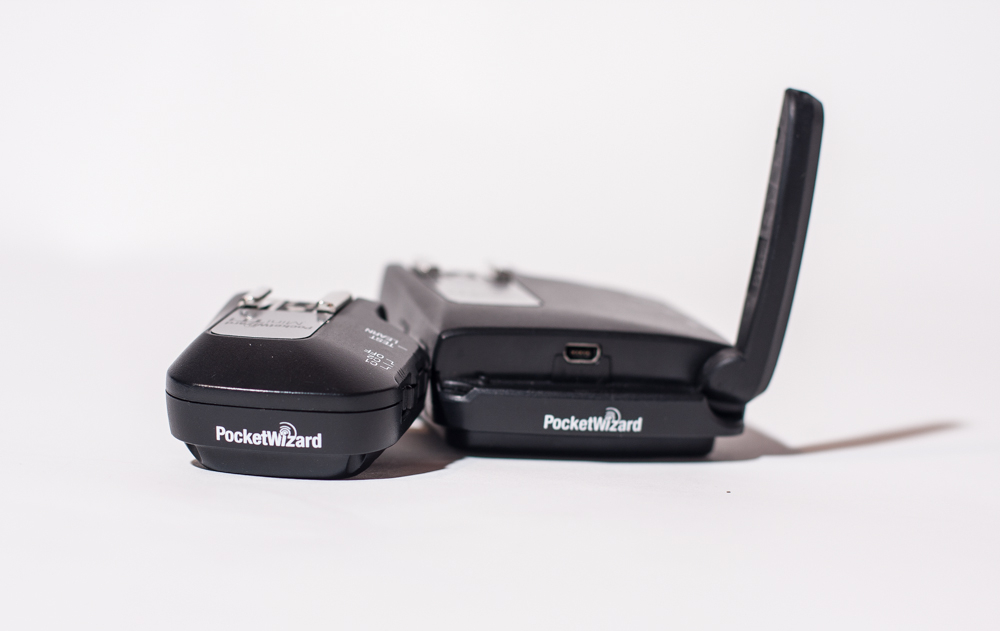
I always pack a flash given the need for fill flash while shooting our Christmas card photo. I did cut down on the number of flashes and the number of Pocket Wizard accessories. This year, I left the Canon 580EX II at home, and just brought the Canon 430EX II. If I had not planned to use the Pocket Wizards and only planned on shooting with the flash on camera, I would have selected the 580EX II. However, there’s some radio interference on the 580EX II that requires additional accessories from Pocket Wizard, so I opted for the 430EX II, one PocketWizard MiniTT1 for Canon PocketWizard MiniTT1 Radio Transmitter
and one PocketWizard FlexTT5 Transceiver
. I used it for the Christmas card photo and that was it, but it was a necessity.
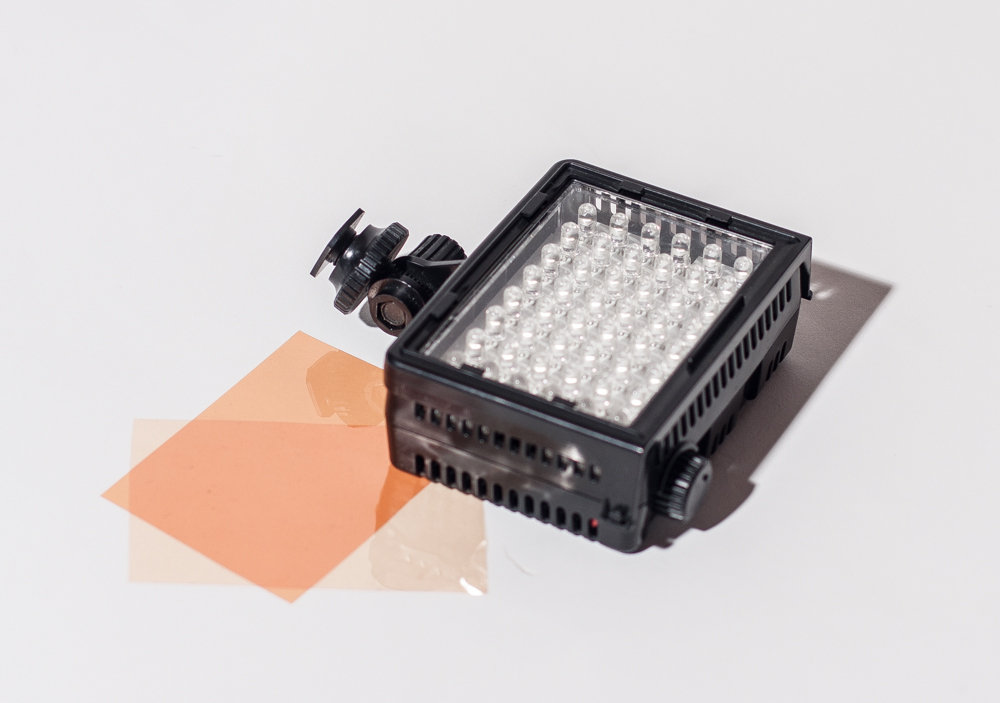
I also packed my Litepanels LP Micro Compact LED Camera Light. As I described last year, I use it to add light for shots in low light situations like restaurants and bars. This year, I also brought it to be used as it was intended, as a video light. I shot loads more video on this trip than any other in the past, so it was even more essential this year.
Audio
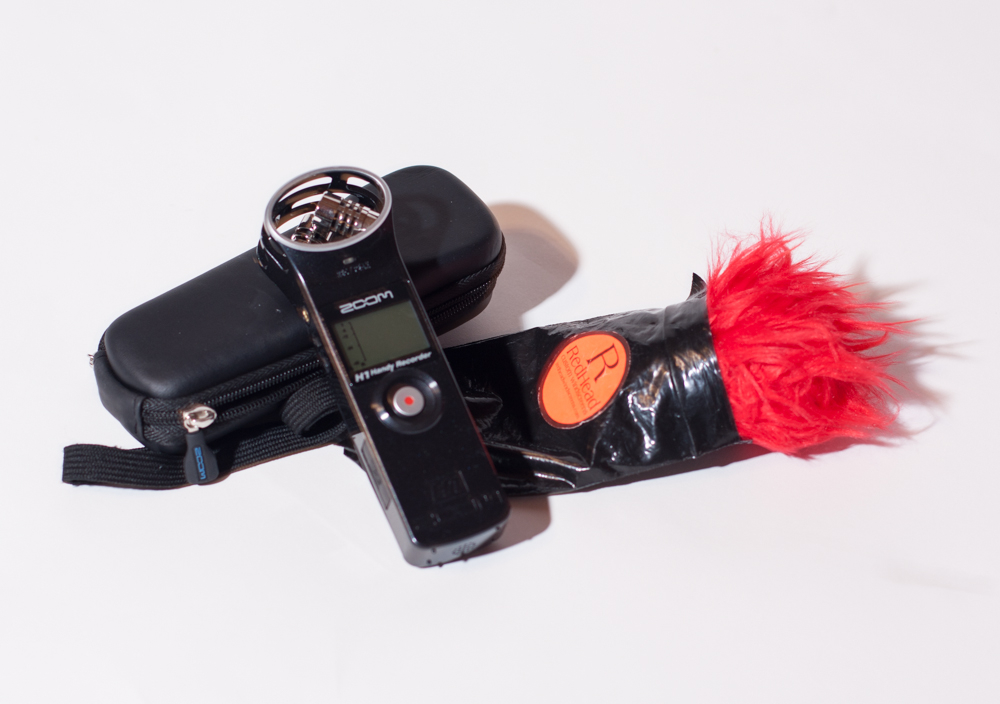
This year, I again brought along the Zoom H1 Handy Portable Digital Recorder It’s easy to use, small, and is far superior to your on-camera audio. This year, I used it to record sounds to accompany my video, including something I’ve been meaning to capture for years. We rent a car when we travel so we can get around and really explore the places we visit. I love listening to the radio in the Caribbean as we drive around. Unlike American radio stations, while music is playing, the DJ will interject with a few words every once and a while. It’s really unique and always brings me back to the islands. While we were driving around Tortola, my husband reminded me to capture it, and I’m so glad he did. It’s now part of our island video, and not just in our memory. Don’t forget the Red Head Wind Screen when taking audio on the beach. It cuts out the noise from those ocean breezes.
Accessories
Crumpler Industry Disgrace Camera Strap – My original Canon camera strap was showing signs of wear where it connected to the camera, and it was never really comfortable in the first place, digging into my neck at times. After a bit of research, I came across the “Industry Disgrace” strap by Crumpler. It is shaped to fit cleanly without bunching around your neck and has a double layer neoprene pad, so it’s super comfortable. It was my best photography purchase this year.
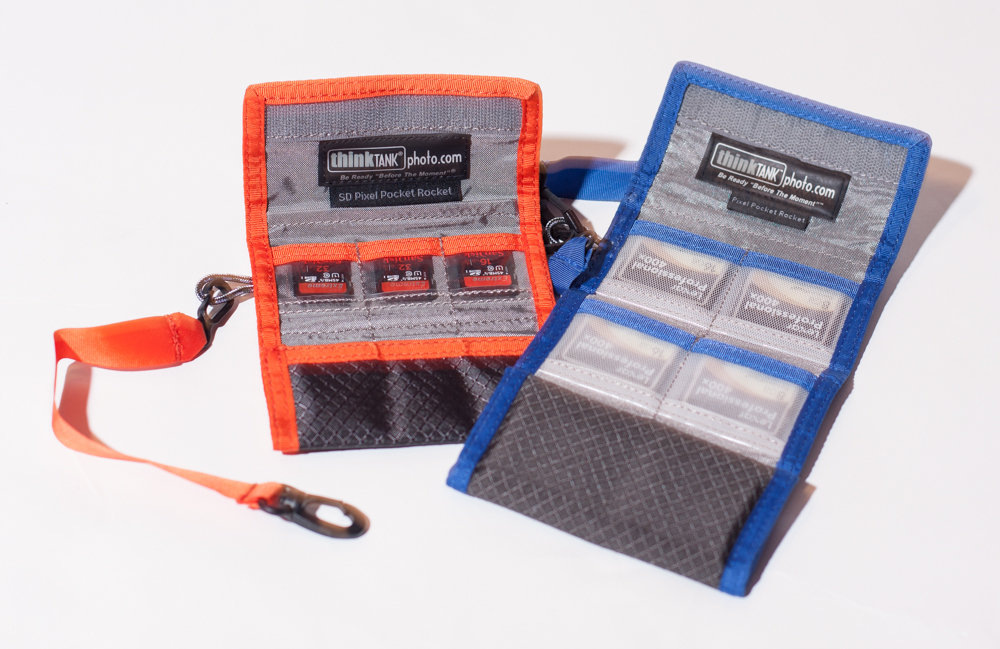
Think Tank Pixel Pocket RocketThink Tank Pixel Pocket Rocket
to hold the CF cards I use in my camera. I picked up the SD card version, the Think Tank Pee Wee Pixel Pocket Rocket
, to hold the SD cards used in my GoPro (details below) and and the micro SD cards used in the Zoom H1. I love the bright colors, making it so easy to locate quickly in my bag.
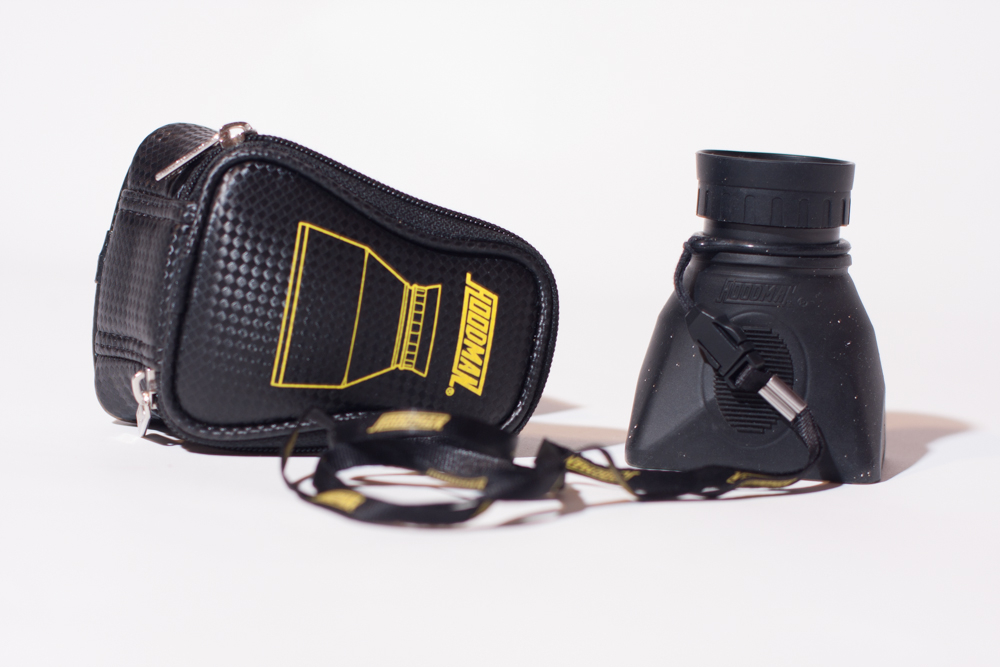
Hoodman HoodLoupe and Hoodman Cinema Strap – Shooting video on the beach is a challenge. All that gorgeous sunlight makes it nearly impossible to see the LCD screen on the back of the camera. That’s why I picked up a Hoodman HoodLoupe 3.0
. It’s adjustable to correct for my nearsightedness and hangs around your neck on the included strap so you have it when you need it. I also picked up the optional Hoodman Cinema Strap, which essentially mounts the loupe to your camera for continuous use. It’s a lifesaver when shooting video in the sun.
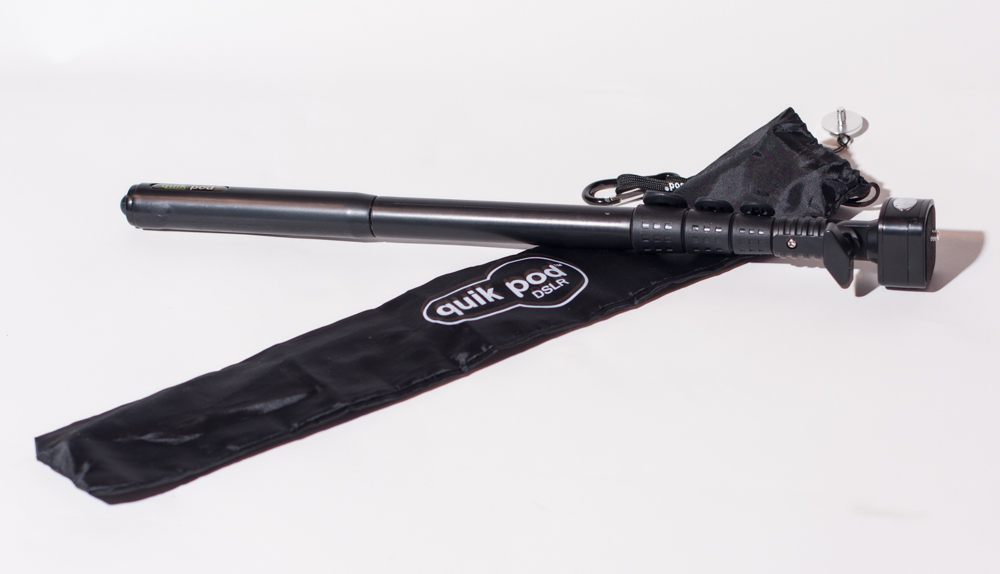
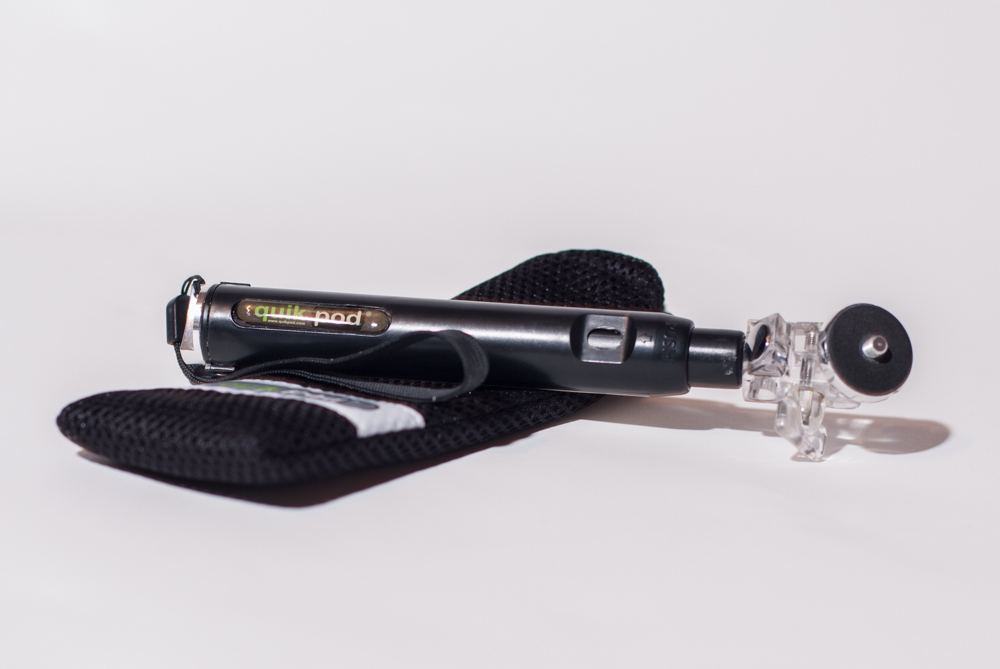
QuikPod Monopods and Manfrotto Table Top Tripod. This trip, I left the full-size tripod at home. Would it have made my photos and video better? You bet. I would have loved to have it with my Manfrotto 501HVD Video Head. However, I also had a size and weight limit on my suitcase, and this year I was carrying my own snorkel, mask and fins, taking up even more space. So, I made some compromises. I was not shooting this vacation as a professional job. It was a vacation after all. So I left the tripod and video head at home, and just brought along two inexpensive monopods (QuikPod for DSLR and GoPro) and my Manfrotto tabletop tripod. I had never used a monopod before, so I went cheap. I wanted to see if I would use it. I loved it, so I will be looking to upgrade it before my next trip. The QuikPod is inexpensive, and not as stable as I would like. The GoPro QuikPod was quite wiggly, not really what you want in a support accessory. If you don’t want to spend a lot of money, but want to see if a monopod is your thing, pick one up. But if you are looking for a quality monopod, look elsewhere.
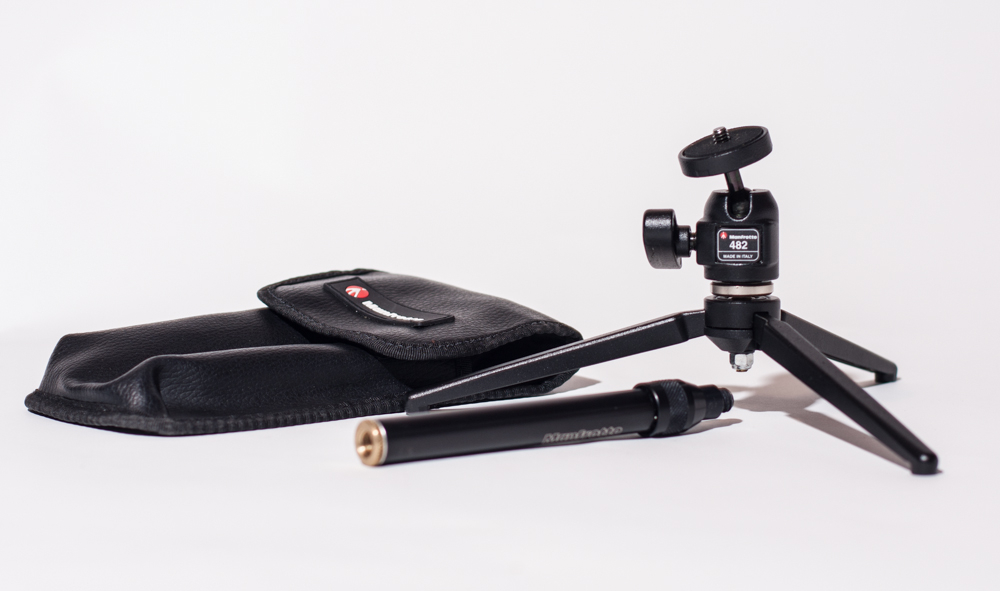
As for tabletop tripods, you can’t beat the Manfrotto 709B Digi Table Top Tripod with Ball Head. They sell it as a kit with the legs and the head for under $45, and no stability problems here.
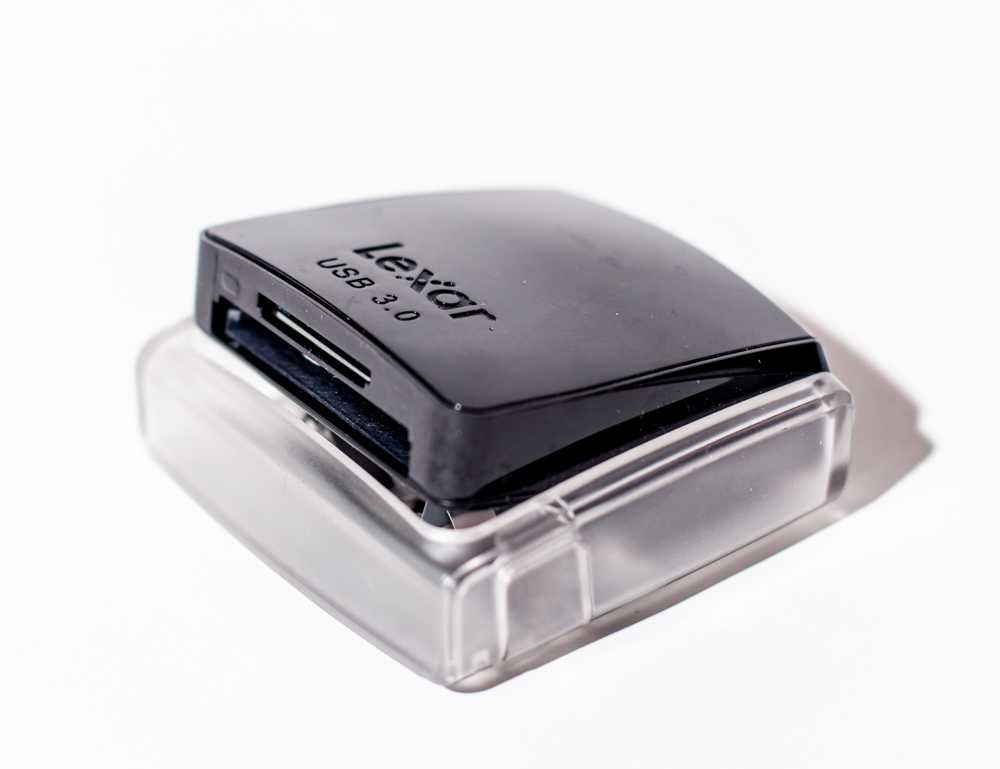
I also included a card reader so that I could download my cards daily. I recently purchased the Lexar Professional USB 3.0 Dual-Slot Reader which reads both CF and SD cards so I only needed one reader for everything.
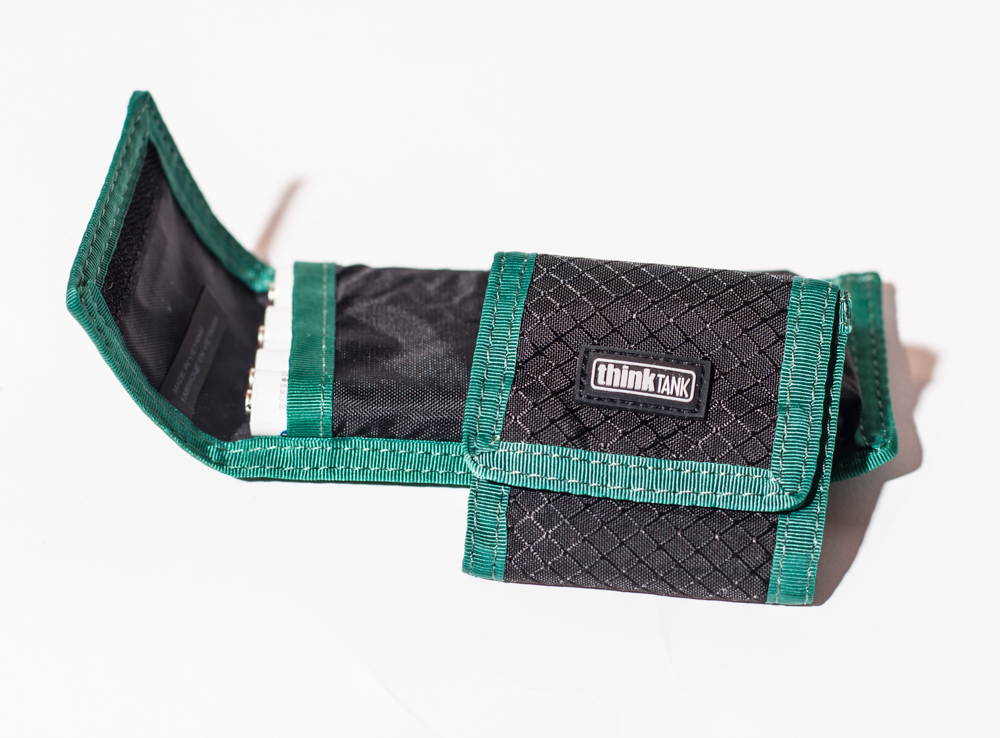
And don’t forget your power!
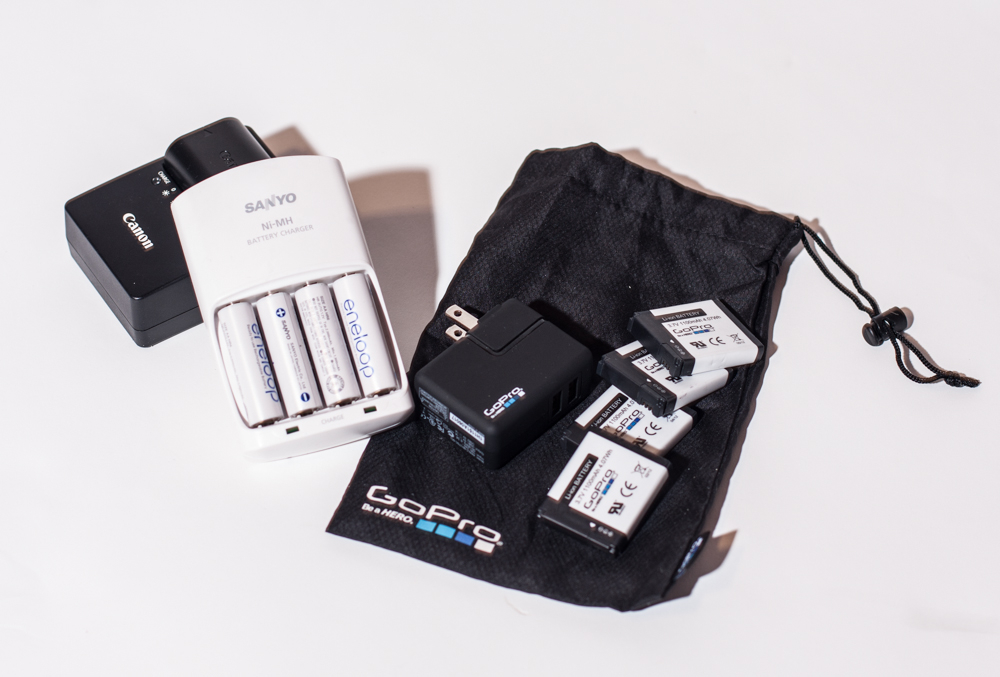
Underwater Equipment
This year’s trip offered an opportunity to explore underwater, more than we ever have before. I was on a lucky streak last year, and managed to win the GoPro “Everything We Make” sweepstakes. If you haven’t heard of it before, give it a whirl. You enter daily through the link on their website, and each day, they draw a winner of one of everything they make! Sweet! I won a GoPro Hero 2 HD camera, and all the accessories they made, including the dive housing. I couldn’t bring everything, but I narrowed down the accessories by what I expected we would be doing. I brought the wrist housing, the dive housing, the LCD screen, and the Wifi remote. I put the LCD screen on and put it in the underwater housing, but soon learned that you really can’t see the screen underwater. Skip the LCD screen for underwater. Practice with the camera so you get a sense of it’s field of view, and you’ll do just fine.
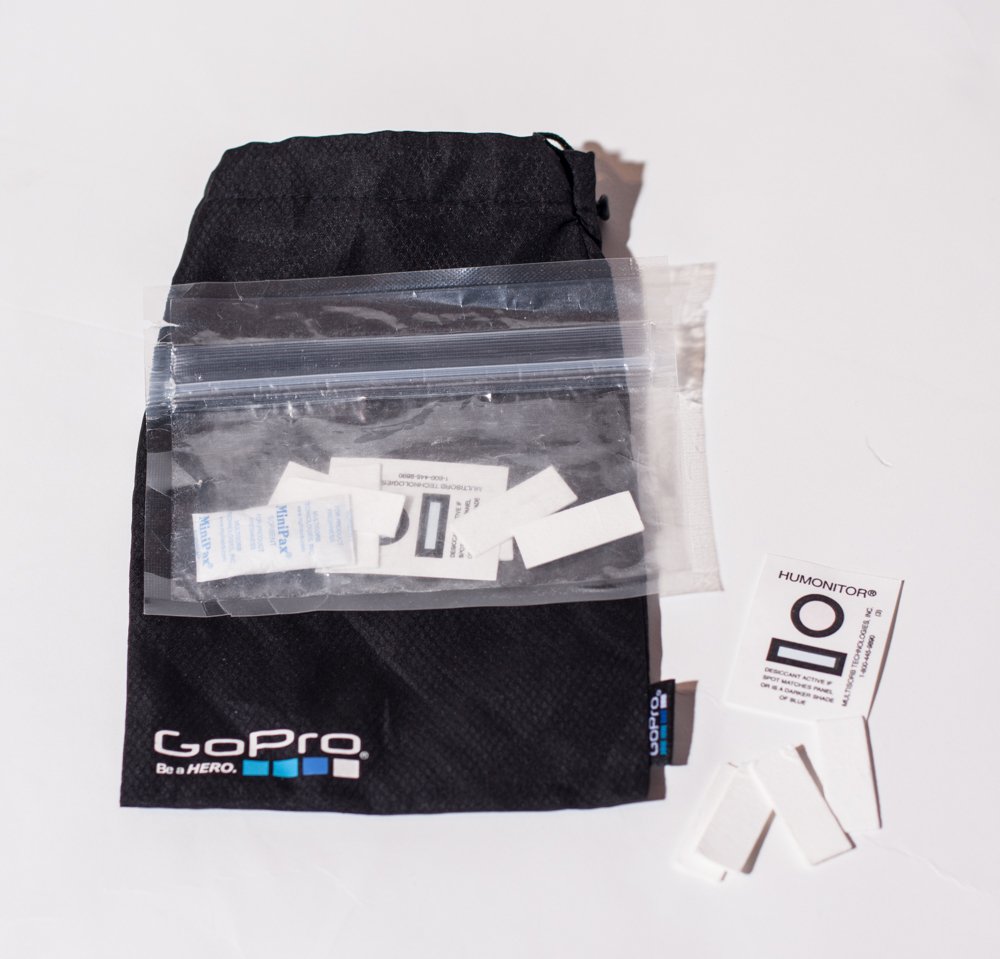
A really handy accessory in the Caribbean were the Anti-fog Inserts. You slide these into the side of the housing and they absorb the humidity, preventing the lens from fogging. You can pop them into an oven to dry them out and reuse them. They worked perfectly.
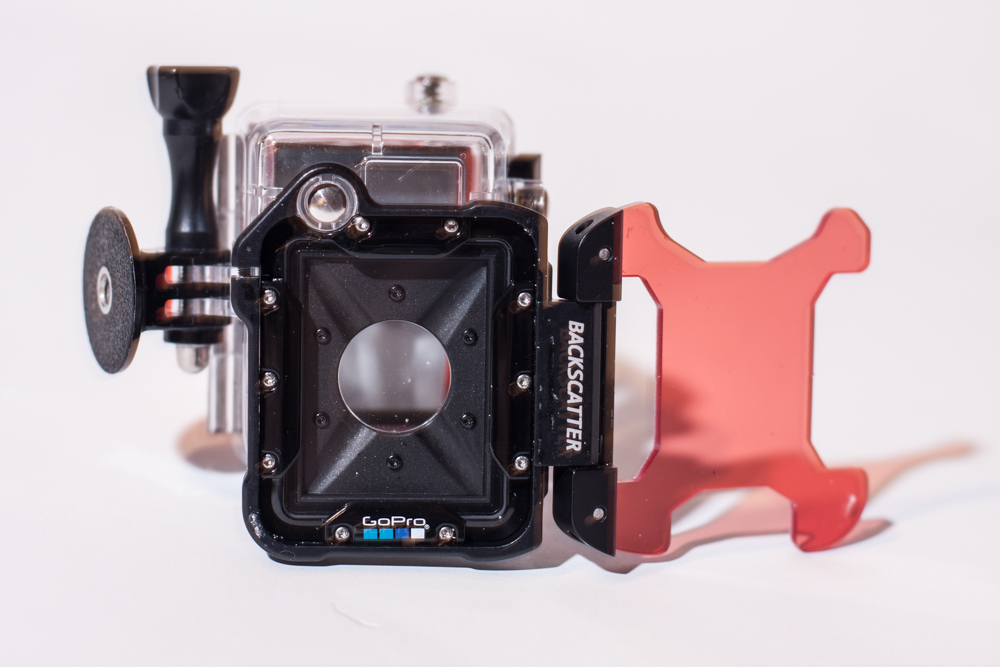
One accessory they don’t make I purchased from Backscatter. It’s a red filter. As you descend in the water, the colors on the red end of the spectrum disappear due to the refraction of light rays. That’s why it looks so blue the deeper you go. The red filter restores the lost color. When I bought the filter, I was enrolled in diving certification class. I didn’t end up getting certified due to a double sinus infection and an ear infection. For snorkeling, the red filter isn’t as necessary, although we did notice a difference in our video at greater depths.
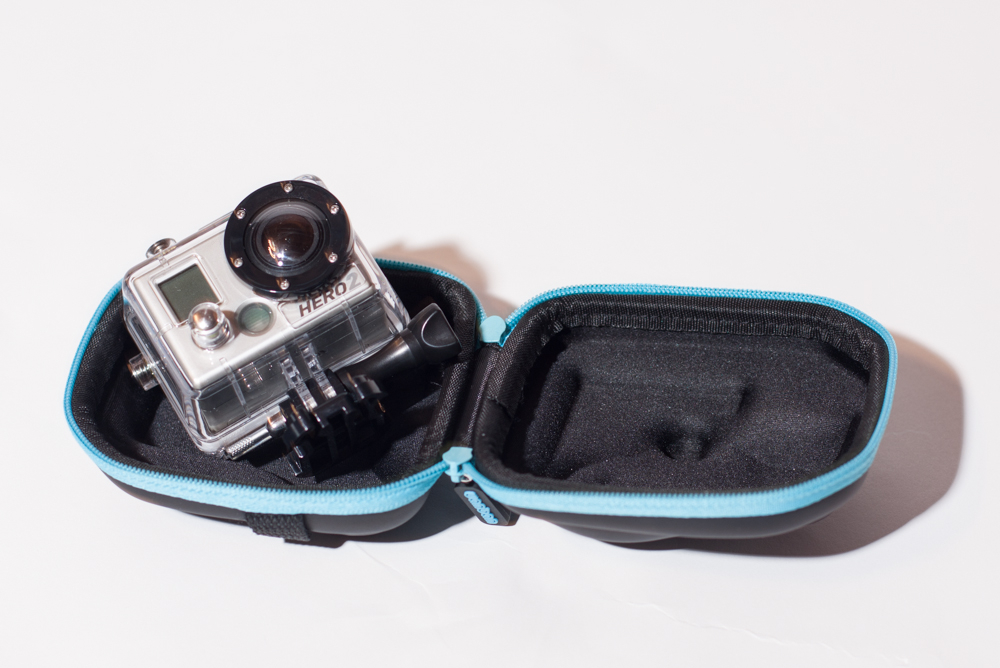
I also picked up the Buffa Gopro Carrying & Travel Case. It fits the camera plus the mount and safely secured my camera from scratches.
Extras
I also packed a bunch of magnetic business cards to hand out to people we met along the way. I also gave a few to the TSA agents who took great interest in my photo gear. It’s always great to have more readers!
If you want to see what I packed last year for our trip to Nevis, click here. If you’re interested in what I packed for Ireland, click here. I hope this assists you in making decisions on what to pack for your next trip. Bon voyage!
Oh, and if you haven’t read our 5-part trip report on our trip to the BVI, click here to get started!
If it matters to anyone, I buy all my own stuff (or my wonderful husband!), and so I tell it like I see it. You will see affiliate links here, which as explained below, help offset the cost of this site, but don’t be misled – – If I don’t like something, I’ll tell you so.
NOTE: To offset the cost of this website, My Irie Time is a participant in the Amazon Services LLC Associates Program, an affiliate advertising program designed to provide a means for sites to earn advertising fees by advertising and linking to Amazon.com. We are also participants in the B&H Photo Affiliate Program, which provides commissions for sales linked by this site to B&H Photo Video.
