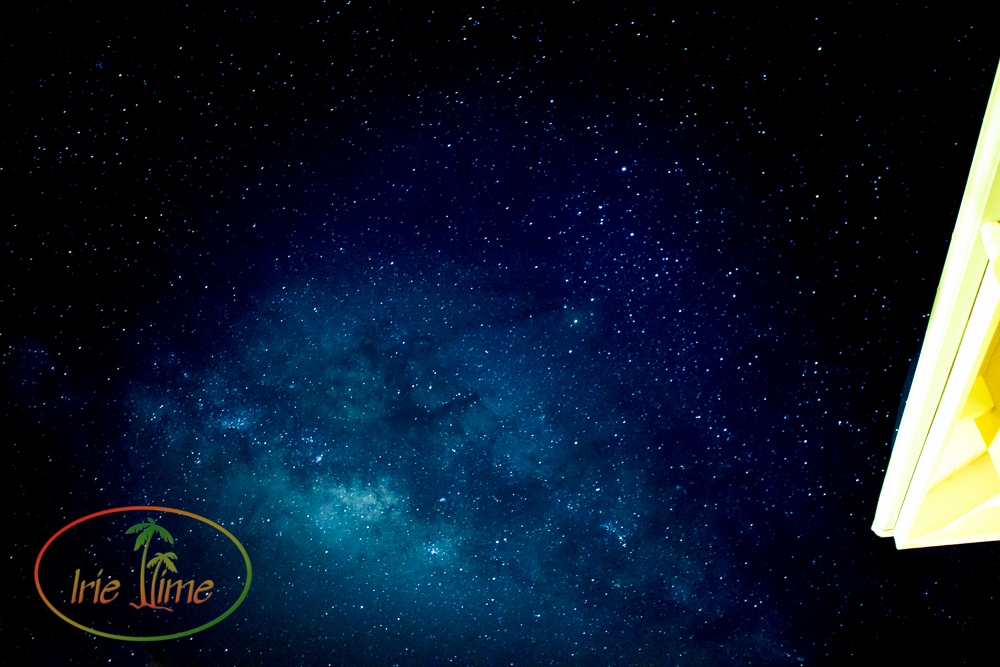
Knowing that we were traveling to Barbuda, where I expected a beautiful night sky, I planned to try to shoot the Milky Way. I had never done it before, but why not? So I did a bit of research and here’s how I planned for shooting the Milky Way and the results.
Step 1: Get away from the city!
Light pollution of big cities will obscure your view of the night sky, so it’s important to distance yourself as much as possible. Barbuda was pretty far away, so I didn’t expect any difficulty here. What I would find out when setting up was that there was still a significant amount of light coming from Codrington, including a search light scanning the sky and lighting up the clouds.
Step 2: Plan your shoot.
You will want the sky at its darkest, so it’s important to know when the sun sets and when the moon rises where you will be and when you will be there. There are two free programs which you can use to do your planning.
The first is Photographers’ Ephemeris to figure out the darkest days of the month and the darkest time (in between sunset and moonrise or between moonrise and sunrise). It’s a free program for your desktop if you intend to plan ahead of time, but they have an app for your phone for info on the go. You input your location and the dates you will be there and it will give you the data for sunrise, sunset, moonrise, and moonset, as well as the stage of the moon. Knowing we would be in Barbuda on June 7 at Lighthouse Bay resort, I entered in that date and the location and the program showed me that sunset was at 6:40pm and moonrise wouldn’t happen until 11:07 pm, giving me a good block of time to shoot the night sky. It also showed me where the sun would be setting, so I could set up my sunset shots!
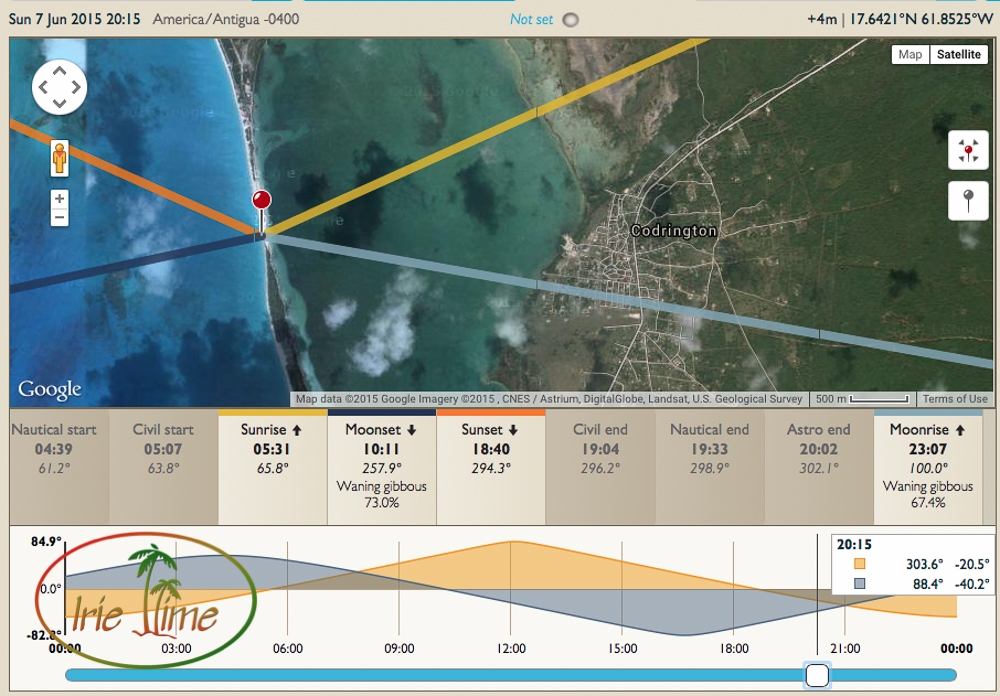
I printed off screen shots of each date and put them in my travel planner.
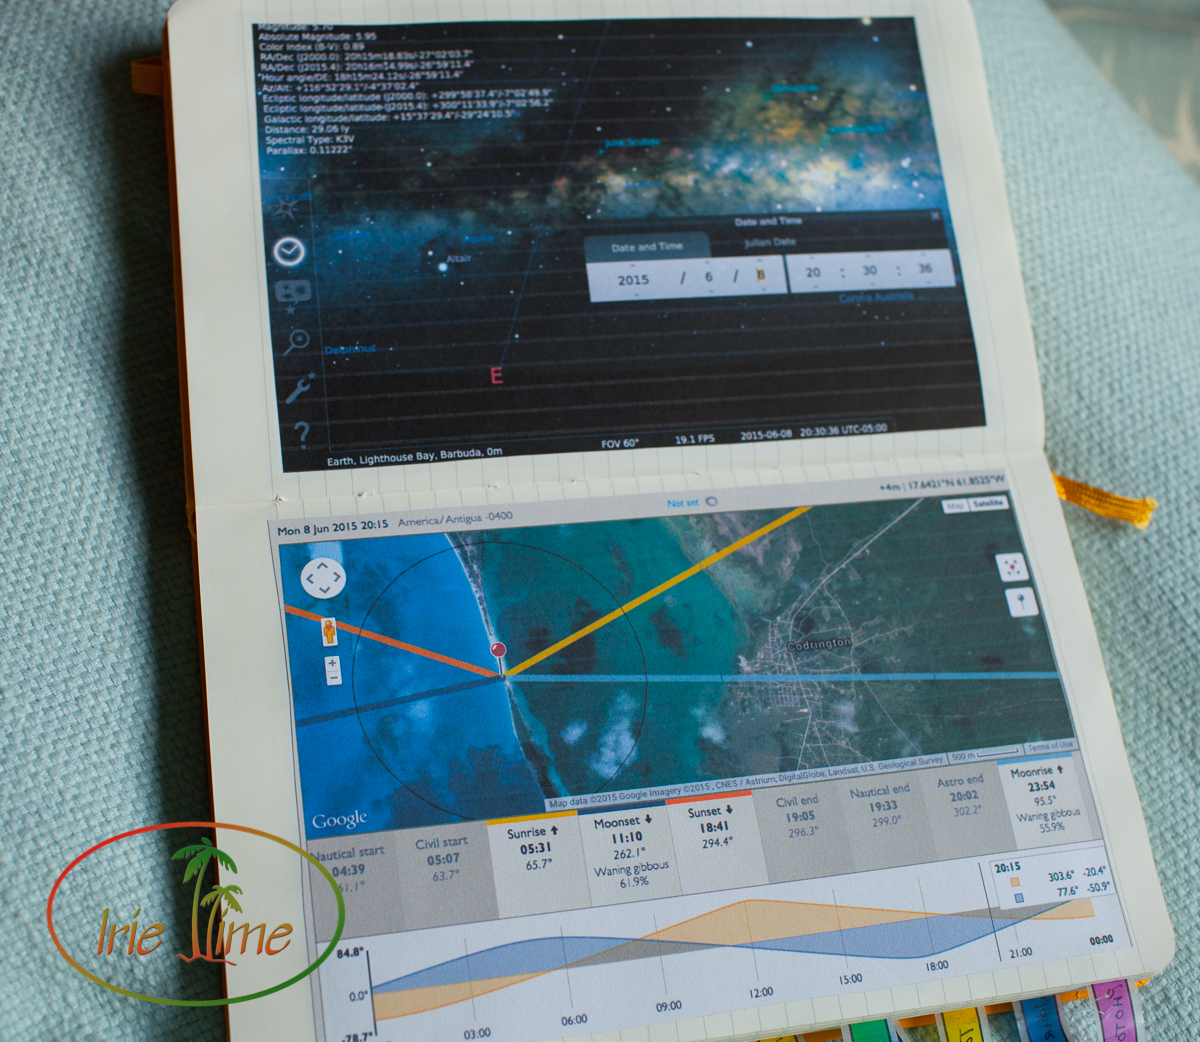
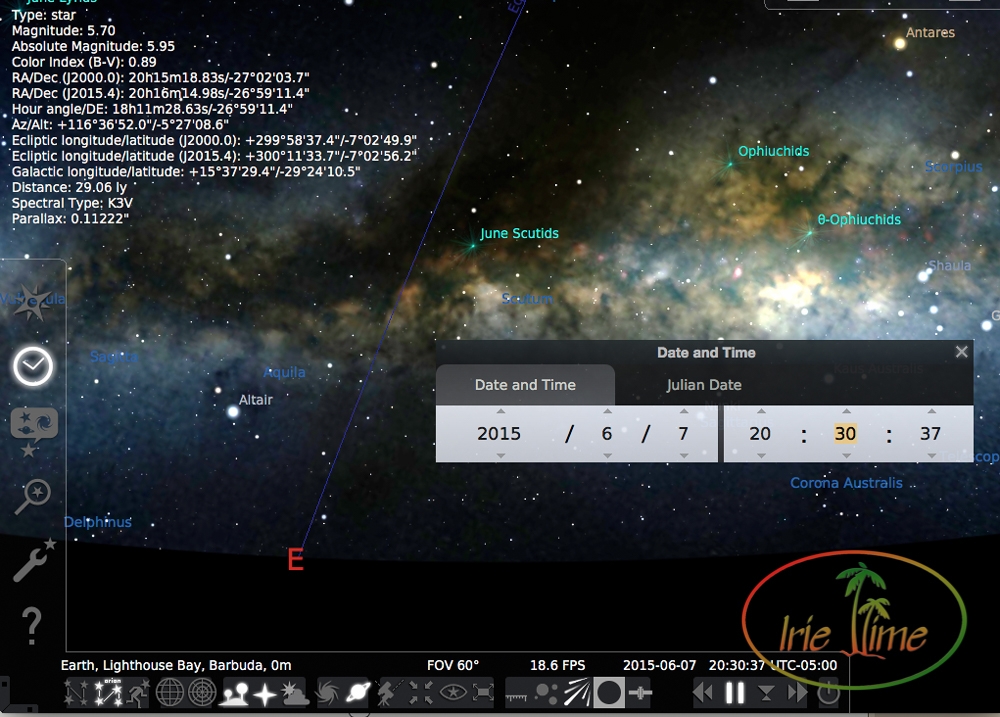
Next, use Stellarium (also a free program) to determine which way to look in the sky for the milky way, and where the milky way is relative to the horizon at different times of night. This will assist you in tweaking the best time for your shoot. Punching in the coordinates for the resort and the date, I was able to scroll through the time block to see when the Milky Way was optimally in view relative to the horizon. I decided to try beginning around 9:00 pm, a little over two hours after sunset and two hours before moonrise.
Step 3: Choose a wide, fast lens.
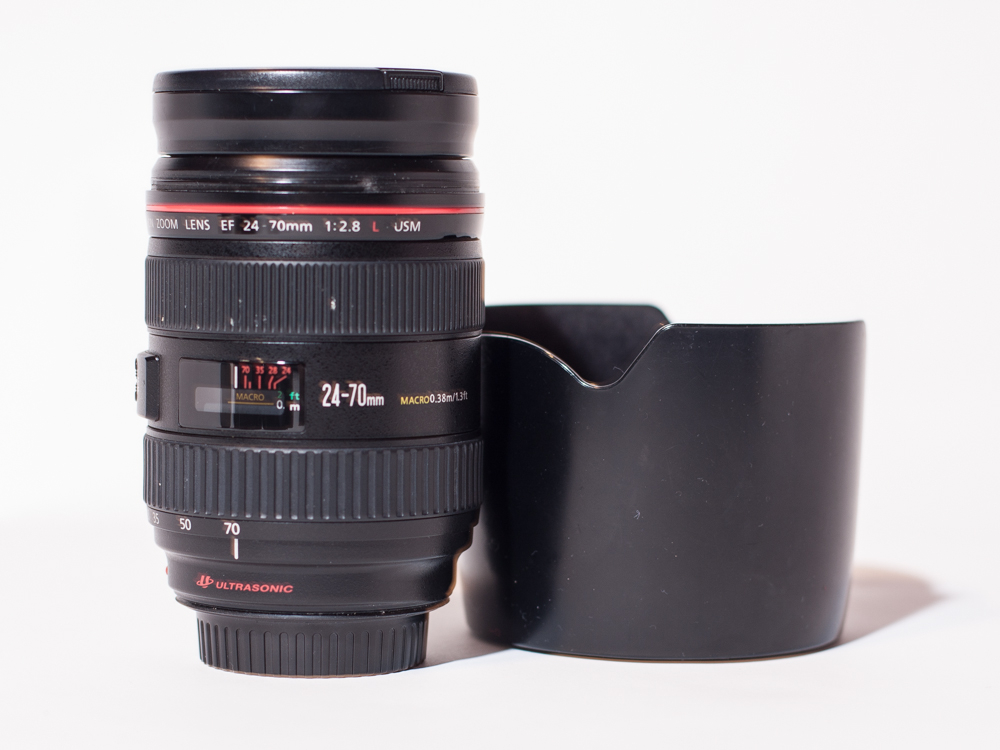
Too long of an exposure time and the stars will move and leave star trails, making them look like dashes rather than dots. I had two lenses with me, the Canon 35mm f/1.4 and the Canon 24-70mm f/2.8. For these shots, I used the Canon 24-70mm f/2.8.
Step 4: Spray yourself down with bug spray!
No need for further explanation there.
Step 5: Set up your gear.
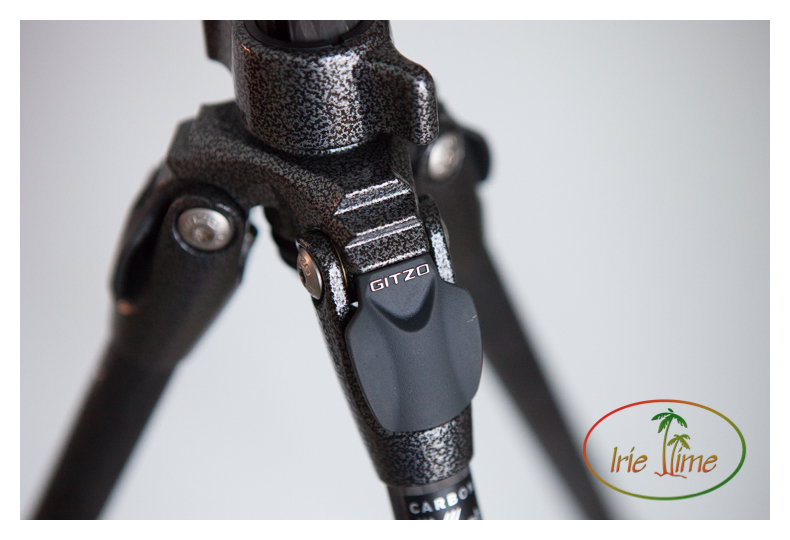
You will need a tripod and a trigger. I used my Gitzo GT0532 Mountaineer Tripod with the Really Right Stuff BH-30 ballhead, on top of which I had my Canon 5D MkII. I used a wired trigger, the Cowboy Studio Timer Remote Control (the very inexpensive version of the Canon TC-80N3), to trigger the exposure.
Step 6: Dial in your camera settings.
Put your camera in manual and focus your lens to infinity. We’ll try a couple settings, chimp, and then adjust. To start, if I was using the Canon 35mm f/1.4, I would start at 30 seconds, at f/1.4, ISO 1600. On the Canon 24-70mm f/2.8, I started with 60 seconds, at f/2.8, ISO 5000, and found that the exposure time was too long. The exposure time ended up being about half that, and sometimes less. And adjust your settings as needed.

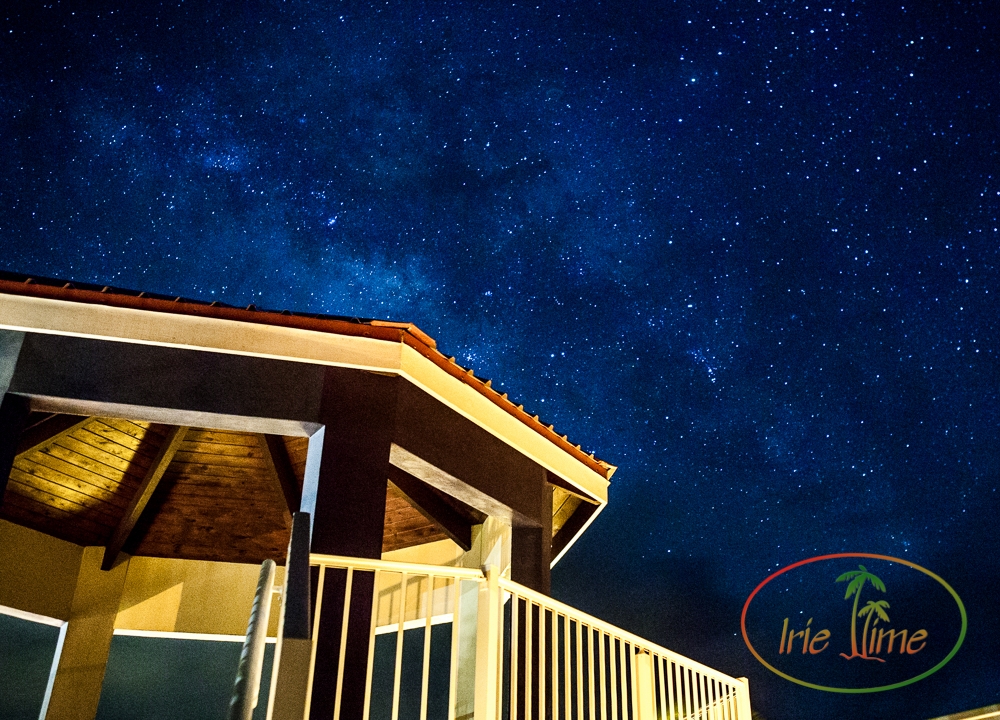
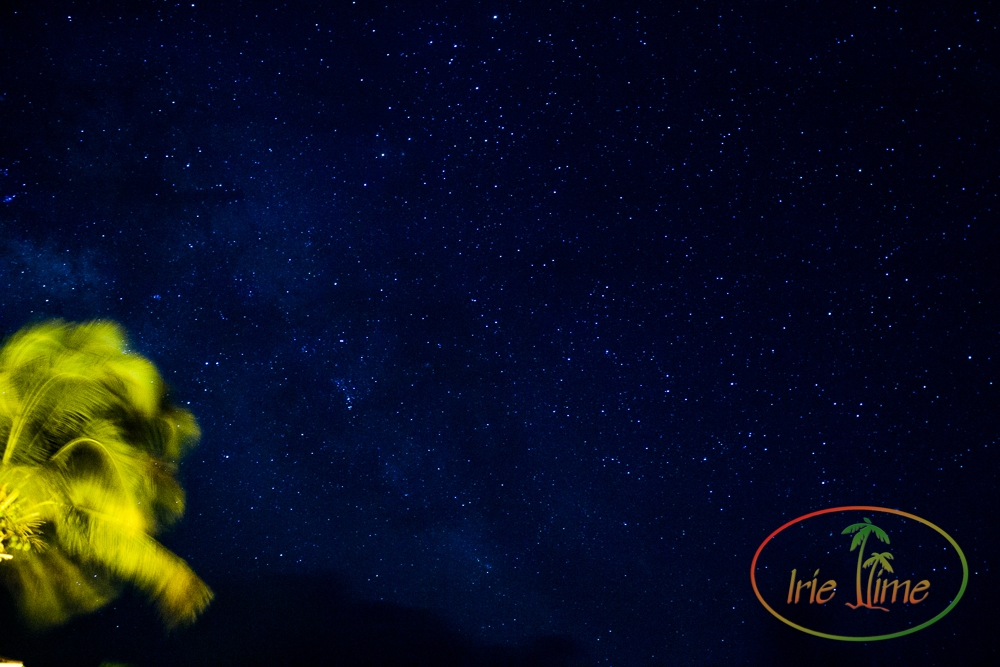
It adds to your shot to have something of interest in the foreground or the horizon, if possible. That was my plan until I noticed the searchlight in Codrington, requiring I shoot up. I tried to use a palm tree, but with all those lovely Caribbean breezes, a palm tree looks like a fuzzy mess. That’s why I switched gears and shot through the top of the lighthouse.
Fuzzy palm trees.
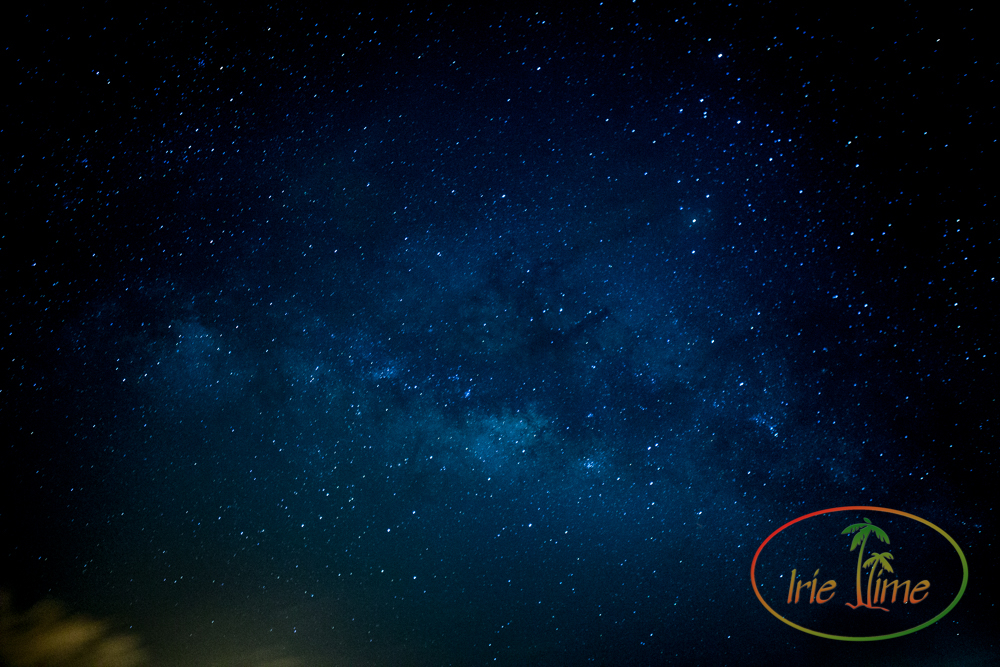
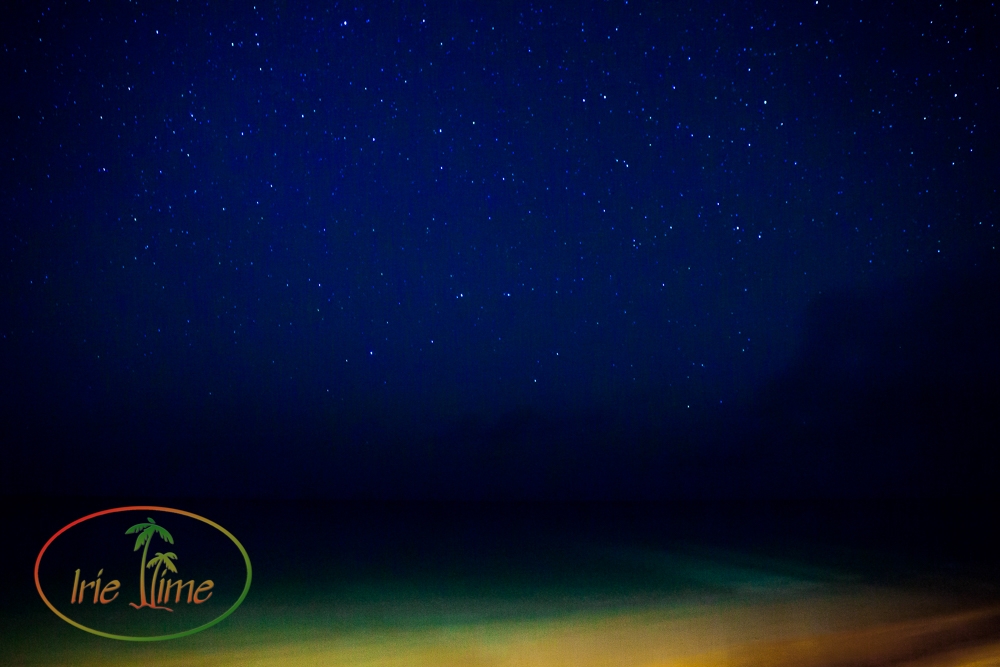
I also shot the opposite direction, where the sky was the darkest. There were still millions of stars to be seen.
You will have to make adjustments along the way. Given the searchlight coming from Codrington, I had to adjust my angle and shoot higher than originally anticipated. I also lost a few shots when staff members triggered light sensors by walking across the resort property.
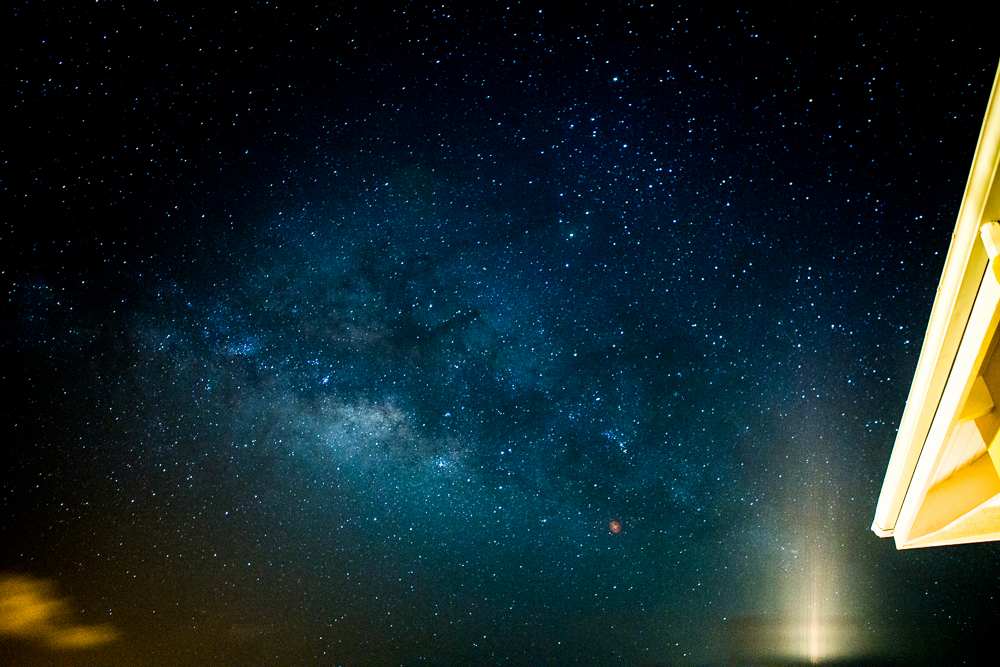
Give yourself some time and adapt. Experiment and have fun!
