One of the great features of digital photography, aside from the instant gratification of knowing you’ve got the shot, is that the cameras record your settings, the metadata, assisting you in evaluating what worked and what did not. Most film cameras had no way of recording the settings used, requiring that the photographer keep meticulous notes, which could be consulted once the film was returned from the lab. As film photography developed over the years, manufacturers were able to design film cameras which recorded the shooting information. However, extracting the information from the camera required special software and a cable proprietary to the manufacturer. In researching the purchase of my Canon EOS 1v, I learned that the shooting data was recorded on the camera, requiring a special cable and the Canon ES-E1 software to download the data. Finding the cable and software was a challenge. It was no longer available from Canon, and it was not easy to find. When a set would pop up on Ebay, the price was astronomical (assuming you could even get the software running on current operating systems). Now photographers have a much less expensive and easy alternative, Meta35.
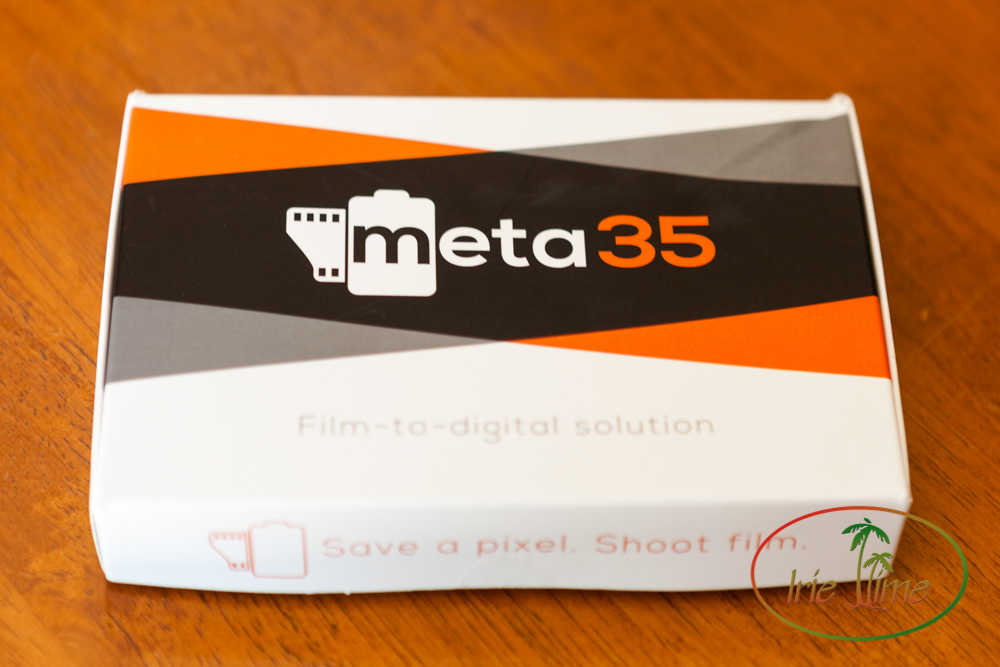
I had given up on my hunt for the ES-E1 software and cable when I stumbled upon Meta35. Meta35 replaces the Canon system in a small easy-to-use device. When your box arrives, inside you will find a USB thumb drive with the software, the cable for your camera, the USB adapter, and the simplest set of instructions I’ve ever seen.
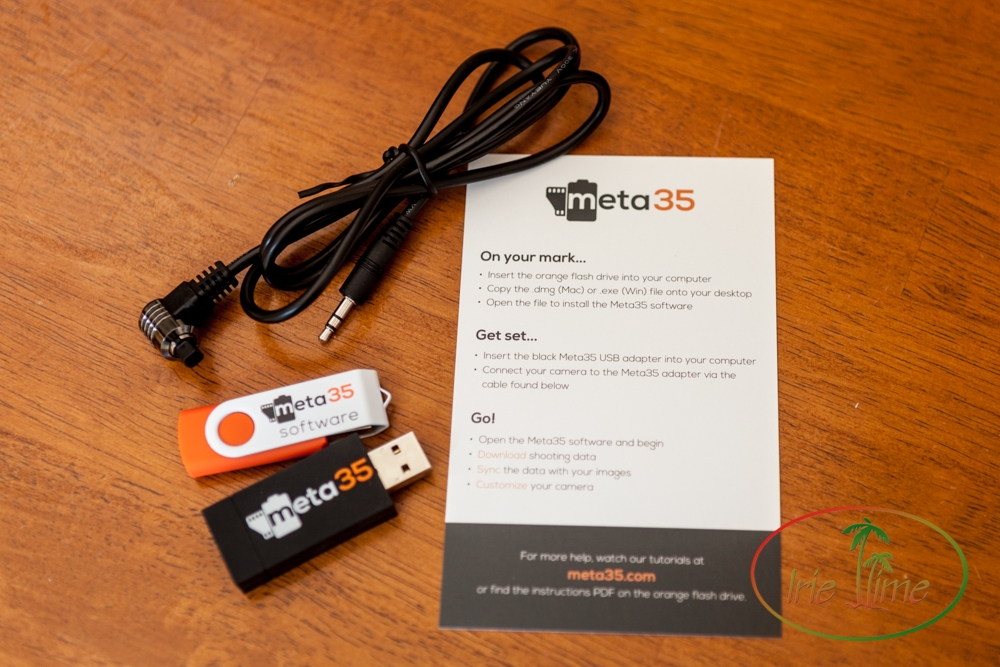
It really was simple! Let me show you how it works. I am using a MacBook Pro for my installation.
Step One: Download the Software
Pop the orange USB drive into your computer. Copy the file to your Applications folder.
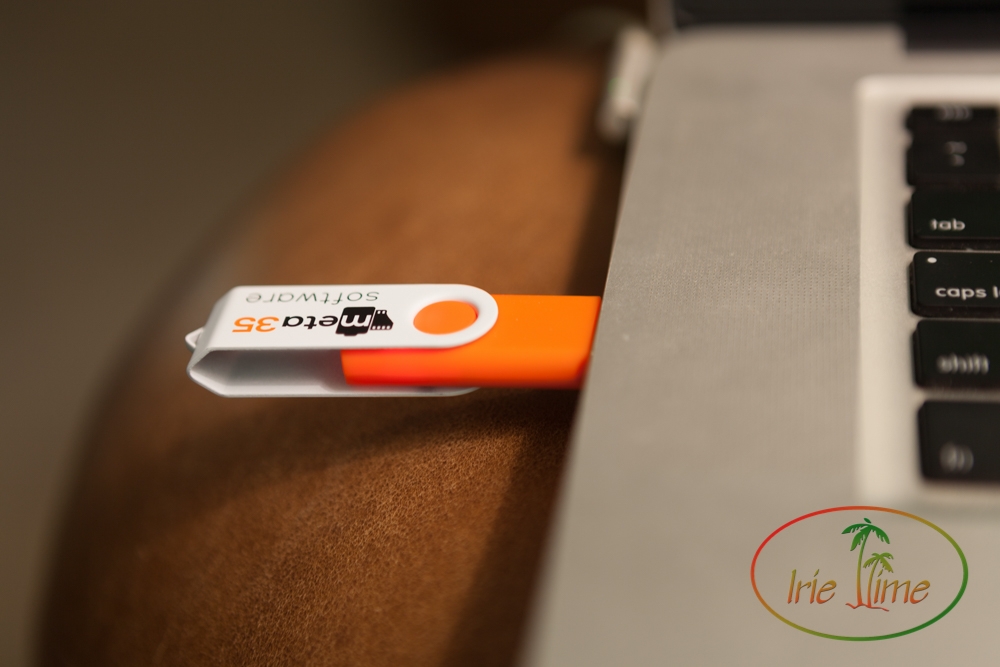
Once you get rolling, be sure to update the software using the “Check for Updates” option available under the “Help” menu.
Step Two: Connect the Adapter and Cable
Plug the black Meta35 cable into your computer. Then connect the camera to the adapter with the cable. Below you will see the location where the cable is attached on the Canon 1v.
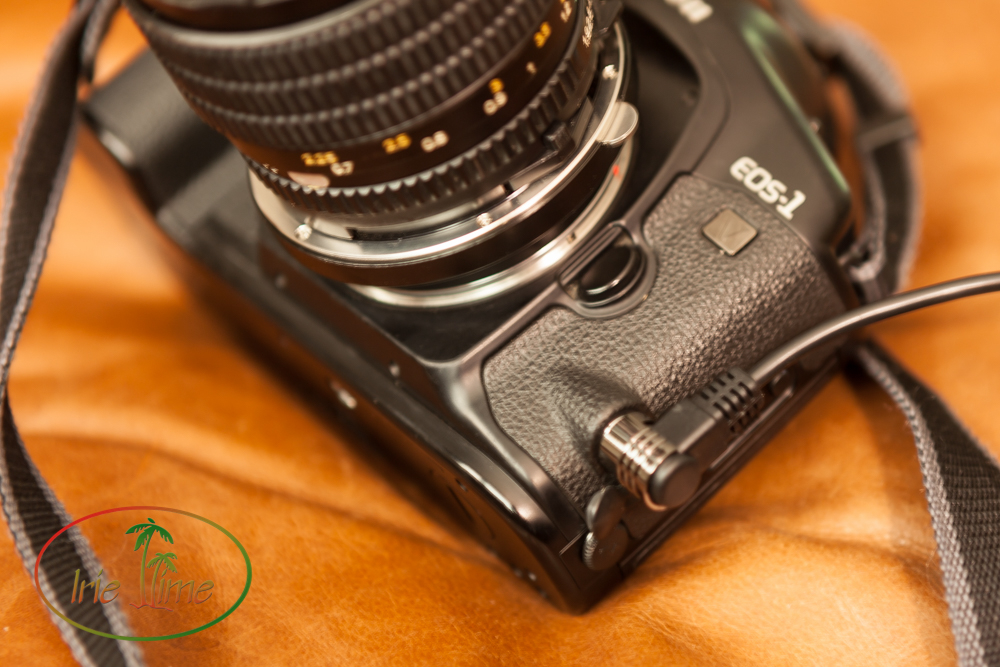
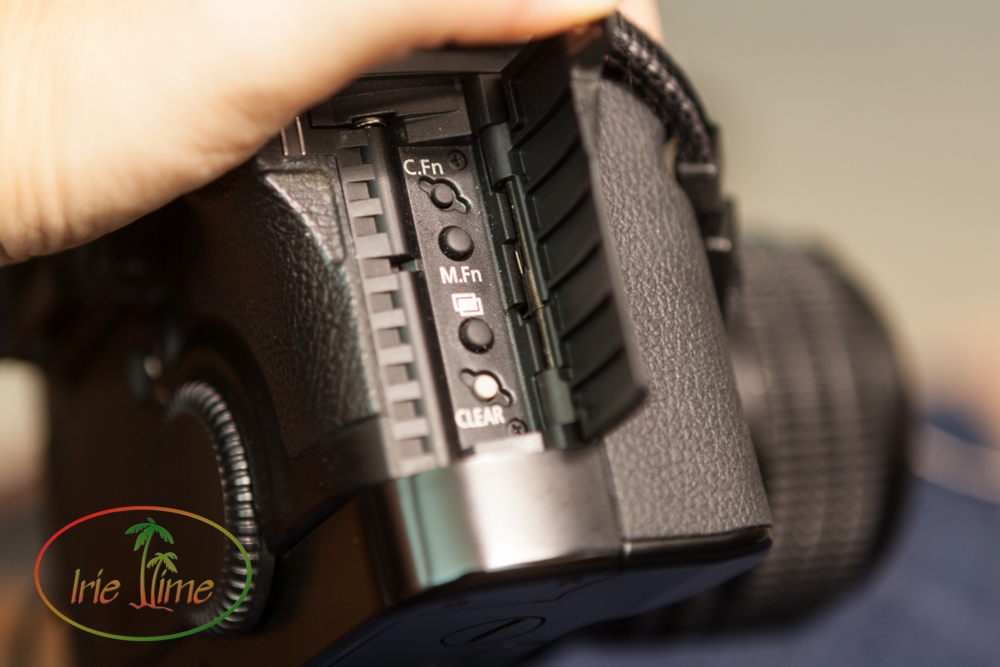
On the 1v, you have on other step. As you’re looking at the back of the camera, flip open the door on the right side. Inside you’ll find the Multifunction button, “M.Fn.”
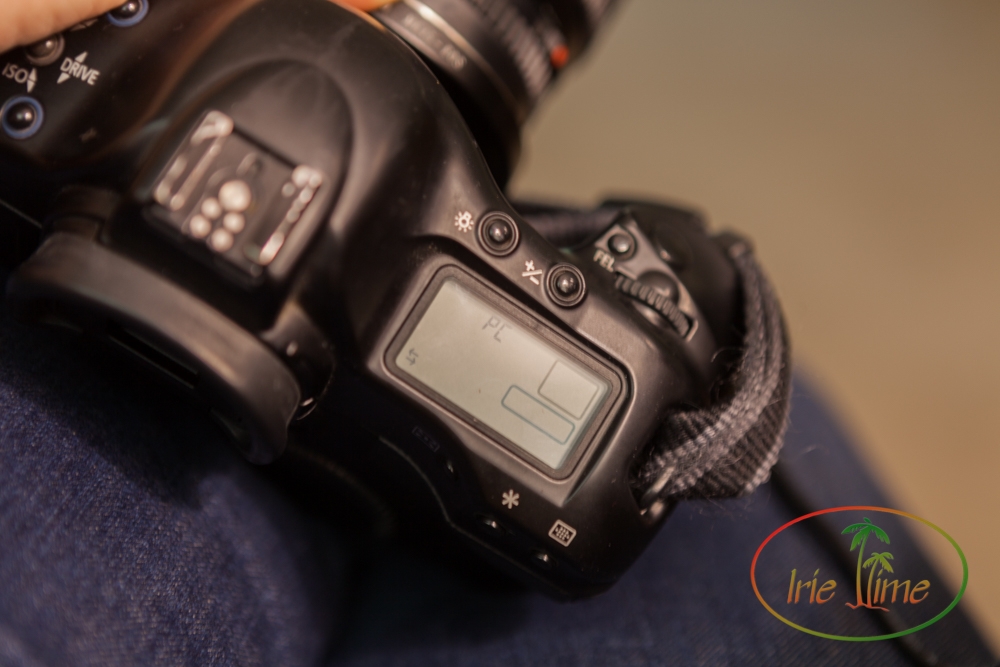
Press that and you’ll see the left and right arrow symbol and “PC” to show that you are connecting to your computer.
Step Three: Using the Software
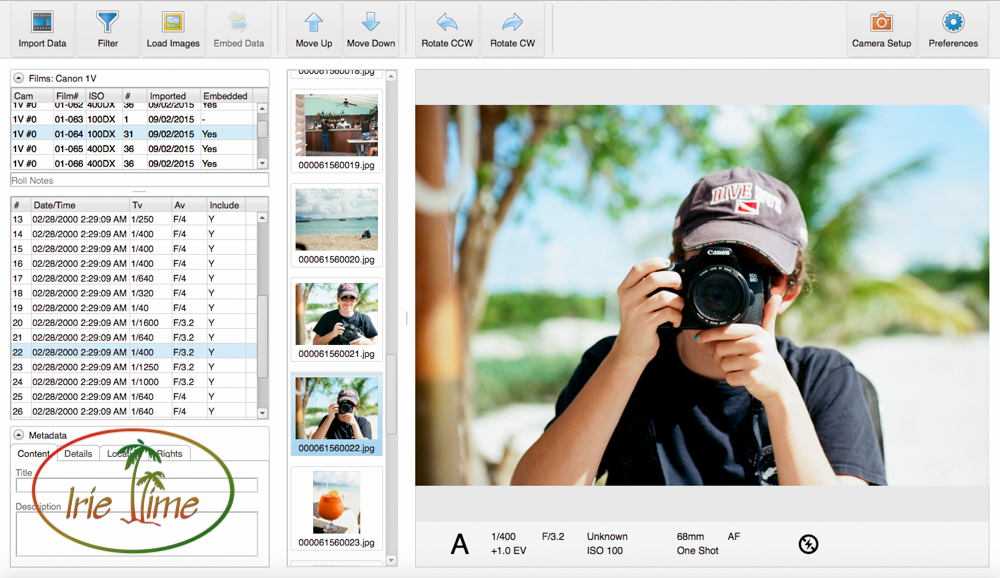
Open the Meta35 software. In the upper left corner, you will see “Import Data” adjacent to the filmstrip icon. Click that to download the data from your camera into the software. Your data appears on the left side of the screen.
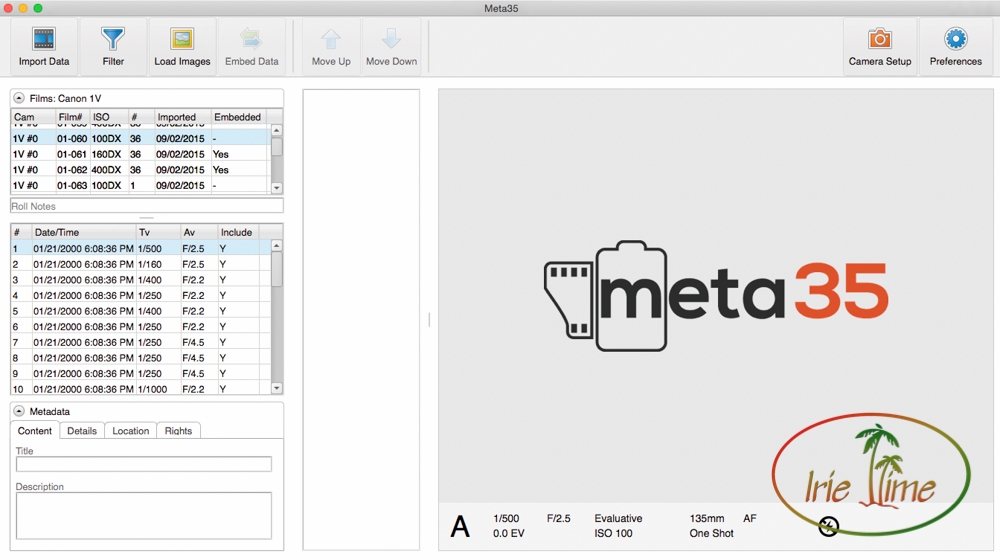
At the top, you will find your film roll identification numbers. On the Canon 1v, you can change the first two digits (XX-XXX) to designate different cameras. Mine is set to the factory “00.” The last three digits designate the roll number. This cannot be changed on the camera. Where do you find your roll number? These are imprinted on the film leader by the camera. The numbers are super tiny. This was roll 00-165.
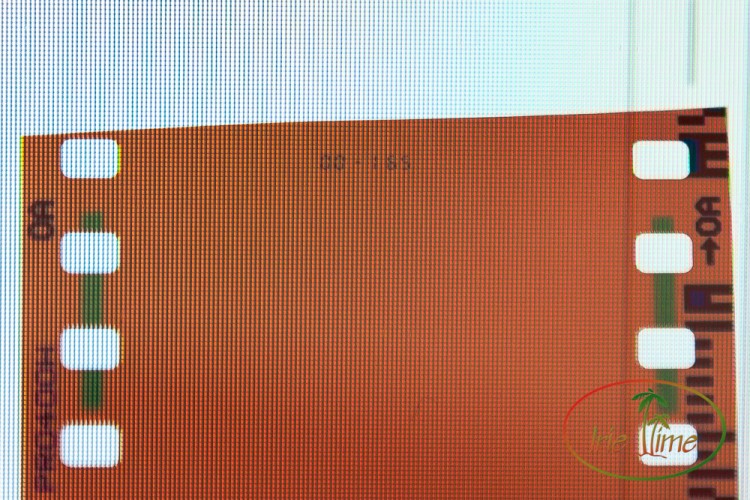
In the future, I will make sure to mention in the special instructions to my lab to be careful not to cut through the numbers. There were several rolls where I could not make out the number because they cut the strip in exactly that place.
Once you have the roll number, go to your listing in Meta35. Let’s use roll 00-177 as an example. Find the listing in the top left and click it. For some reason, my roll appeared as “01-077.” I don’t know exactly why that is, but I was able to confirm this was the correct roll. Below you will see the metadata for each shot on the roll.
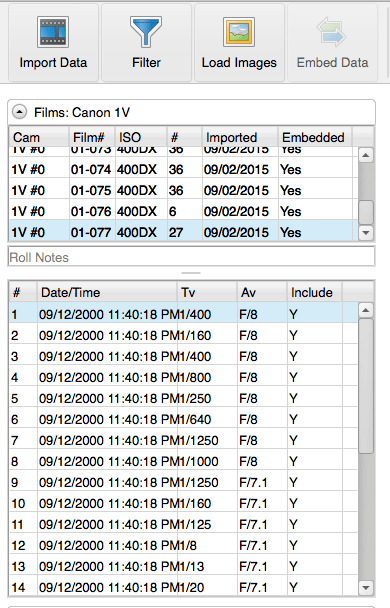
To match the photos to the data, click “Load Images.” The software will prompt you to locate the folder with your images. Click the folder, and the software imports the images into Meta 35. If the number of photos does not match, the software will prompt you to omit images. I had that happen when I opened my camera mid-roll, and the camera reset the roll number, so one roll of film had two different roll numbers. All I did was omit the images which were not on that roll number, and repeat the process with the second roll number. That happened on this roll. You’ll see 6 images on roll 00-176 and 26 images on roll 00-177. I pooched a few frames when I opened the camera.
Back to our data. The program imported the photos and we see them along the right side of the screen.
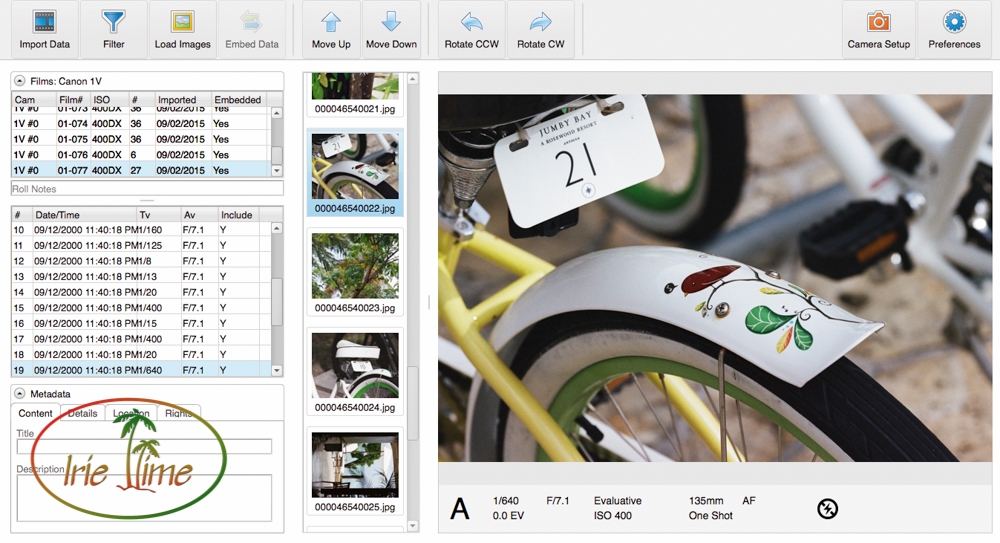
I noticed that my vertical images appeared as horizontals.
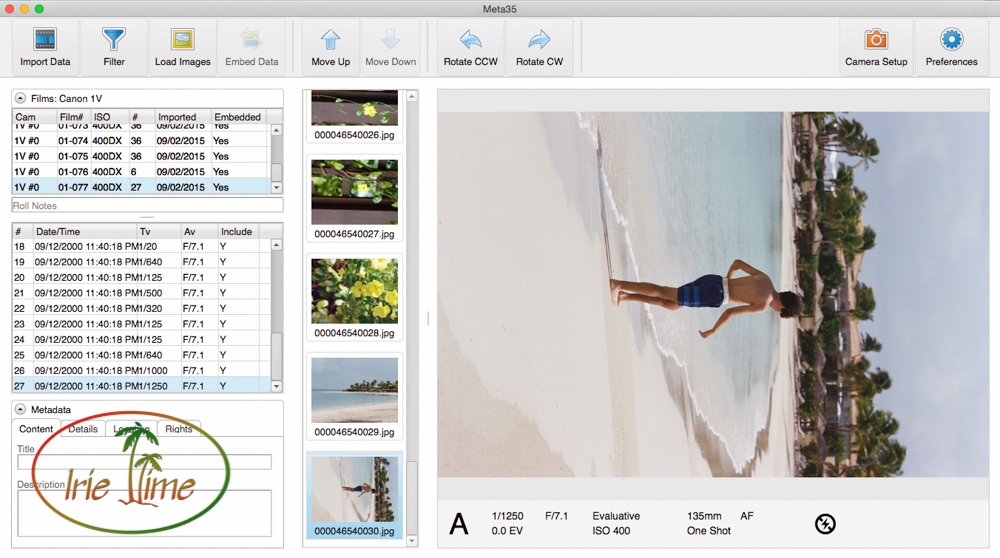
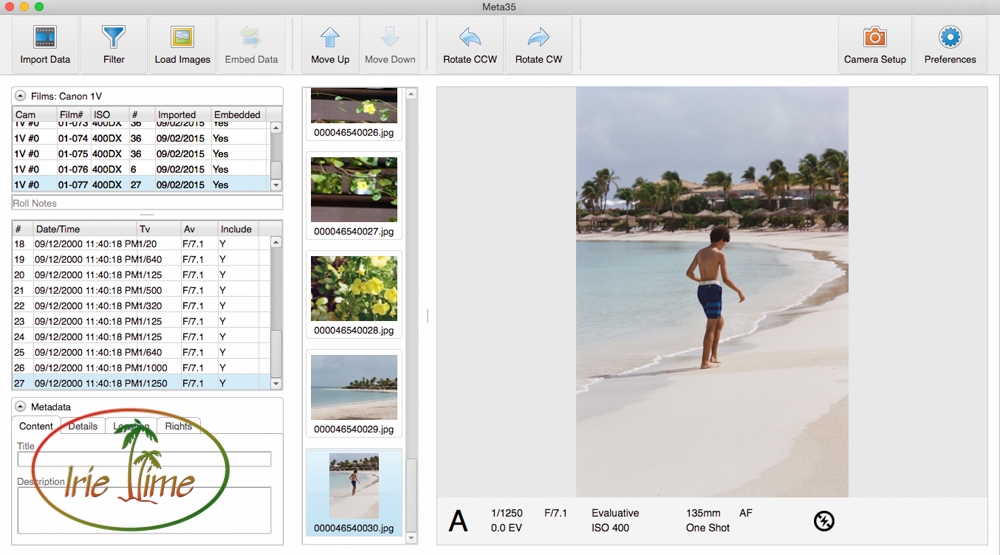
On this vertical image, I wanted to attach information to the file that it needed to be rotated counterclockwise. To do that, click “Rotate CCW” and the image will appear upright. Once that is imported into Lightroom, it will know it is a vertical image.
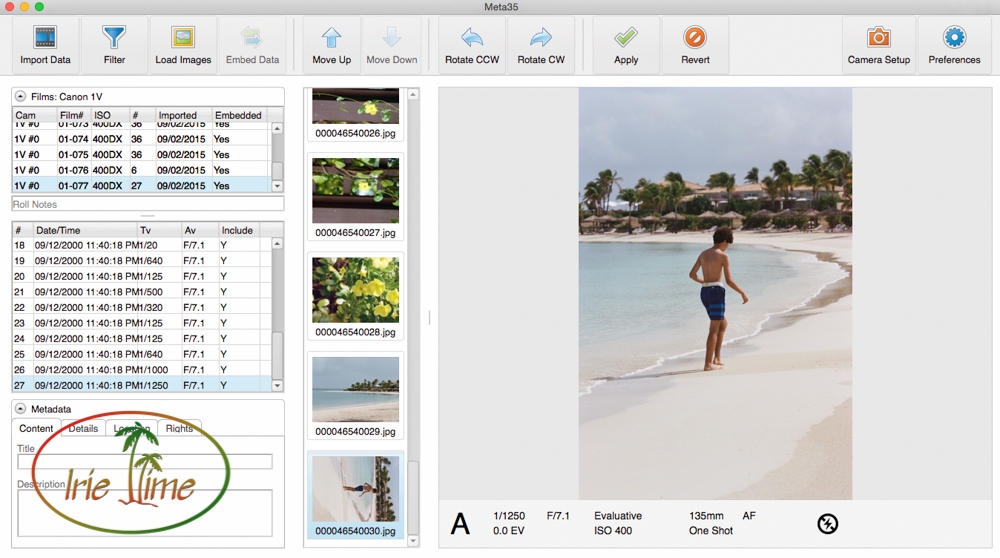
To confirm the change, click the green arrow, “Apply.” The “Apply” button appears once you click the rotation button.
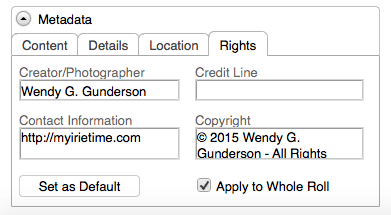
You can also add other information to the images in the box on the lower left of the screen, and elect to have that information apply to the entire roll or be your default information.
Once you have tweaked the data and the photos are lined up with the metadata, click “Embed Data” and the program will save the images with the metadata, ready to import into your favorite processing program. You will see that “Embed Data” is shadowed in the examples in this post. That is because I completed the process for this roll, which you can also see by “Yes” appearing in the “Embedded” column for roll 00-177 (also known as 01-077!) on the left side of the screen.
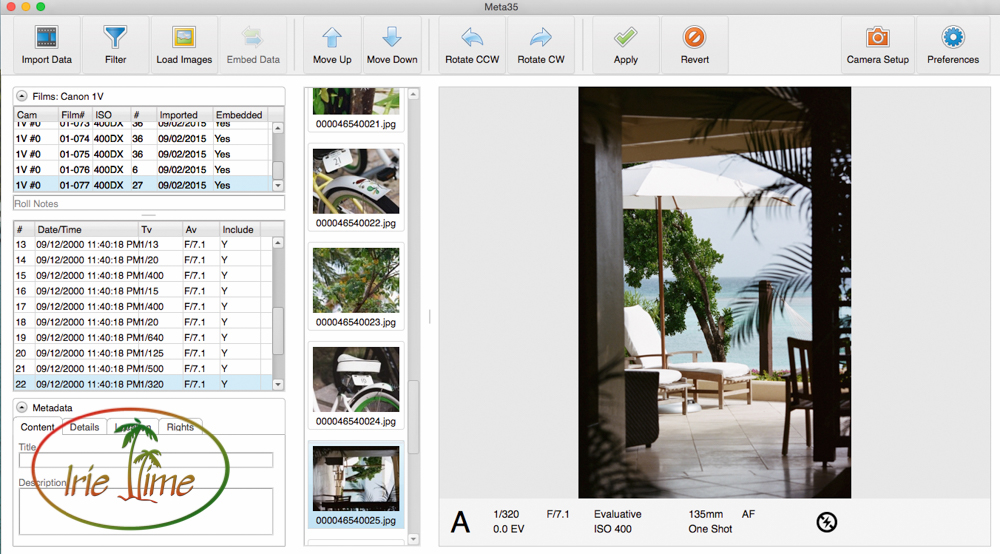
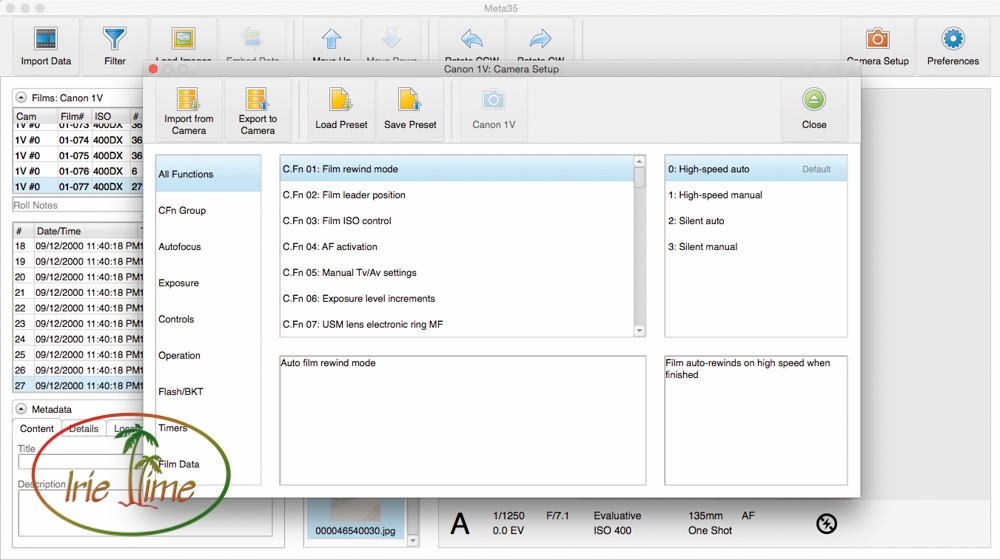
It’s as easy as that! There are other functions made available to you with Meta35, which make setting your camera controls so much easier. Without the software, to change custom functions on the camera, you needed your manual and needed to go through a lot of pressing of little buttons with codes to make the changes. The software makes these changes a breeze. Scroll through the custom functions, click your preferences, and click “Export to Camera.” Done.
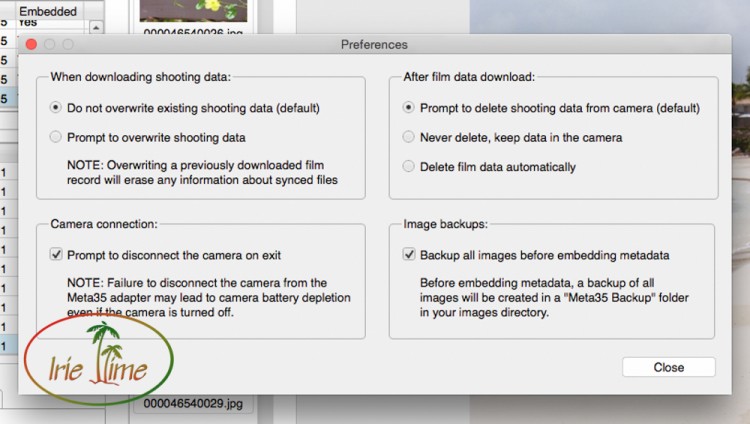
The program kindly reminds you to remove the adapter when you’re done importing to save your battery. If you have gotten the message, and no longer wish to see it, you can make that change, and others, in the preferences panel.
The Meta35 kit is available for other cameras as well, including Nikon F6, F5, F100, N90s, N90, F90x, and F90, and Minolta Maxxum 7, Maxxum 9, Dynax 7, Dynax 9, Alpha 7, and Alpha 9. I paid $149 for the Meta35 kit and it was worth every penny.
Film is not dead! Enjoy it even more with Meta35!
Interested in more of our film photography posts? Check them out here:
