In 1965, Eastman Kodak developed Super 8 film to improve upon the old 8mm home movie format. The film size was the same, but the Super 8 cartridges had smaller perforations allowing for a larger area for exposure and the potential for sound recording on the edge opposite the perforations. The attraction of Super 8 to the home movie buff was that it came in convenient cartridges which you just popped into the camera and you were ready to roll.
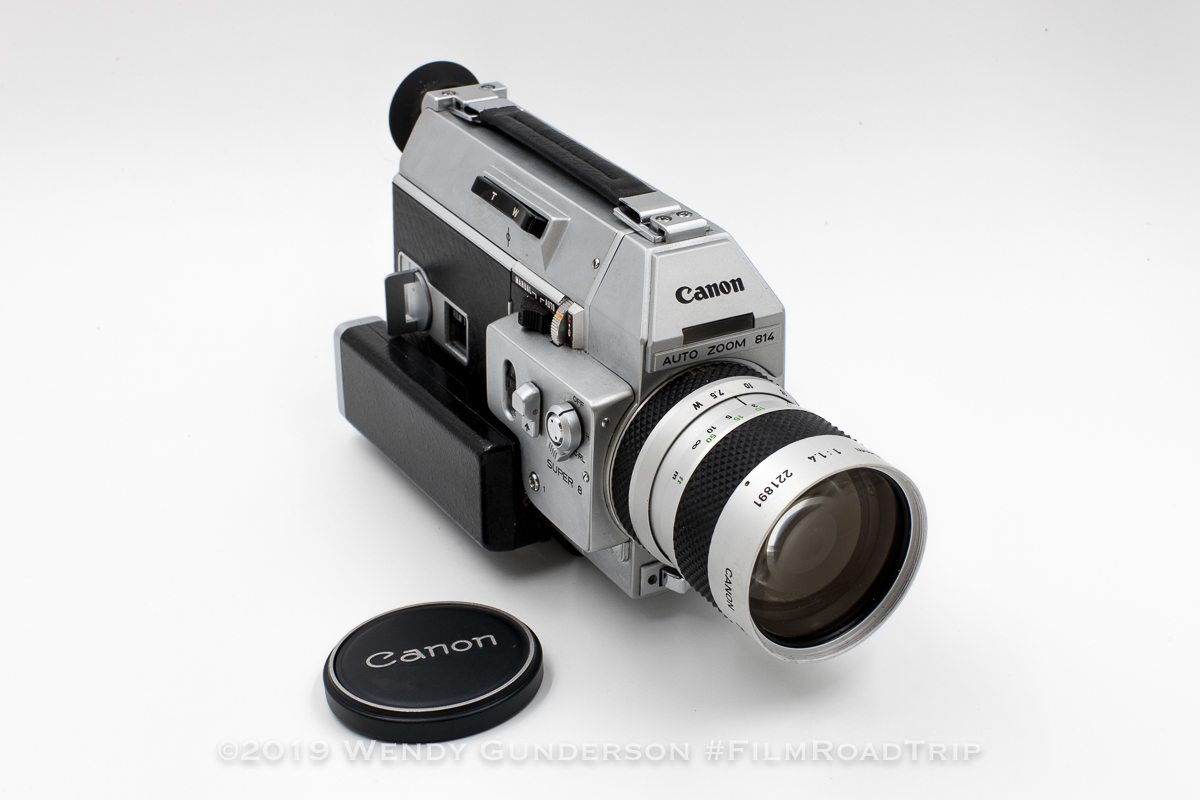
Canon Auto Zoom 814
I had seen some Super 8 cameras rolling through the Goodwill online shop, and they were pretty reasonably priced. After losing a few auctions, I picked up a Canon Auto Zoom 814, manufactured beginning in 1967. It didn’t have sound, but was a favorite of beginning film students. I had never shot home movies on film, so I guess that makes me a beginning film student, and so I picked one up!
Now to buy some film. You can still purchase Super 8 cartridges. Kodak has five Super 8 film stockspresently available: Vision3 50D Color Negative Film 7203, Vision3 500T Color Negative Film 7219, Vision3 200T Color Negative Film 7213, TRI-X Reversal Film 7266, and Ektachrome 100D Color Reversal Film 7294. I was planning a trip to the Caribbean island of Anguilla, so I picked up cartridges of 50D and Ektachrome.
How to Use the Canon Auto Zoom 814
Operating the camera is relatively easy. There are two sets of batteries required. Four AA batteries operate the camera and are found in the handle. A separate battery is required to operate the light meter. I was able to find the Wein ORB 625 1.35v Zinc-Air battery to power the light meter at B&H. Set the camera to either 12, 18, or 24 frames per second. This was my first test of the camera, so I set it to 18 frames per second. Turn on the camera, by moving the switch from “Off” to “R” or “RC-RL.” I set it to “R” because “RC-RL” is the running lock function. If you put the switch in that position and press the trigger, the camera will lock in continuous running until you switch it to “R.”
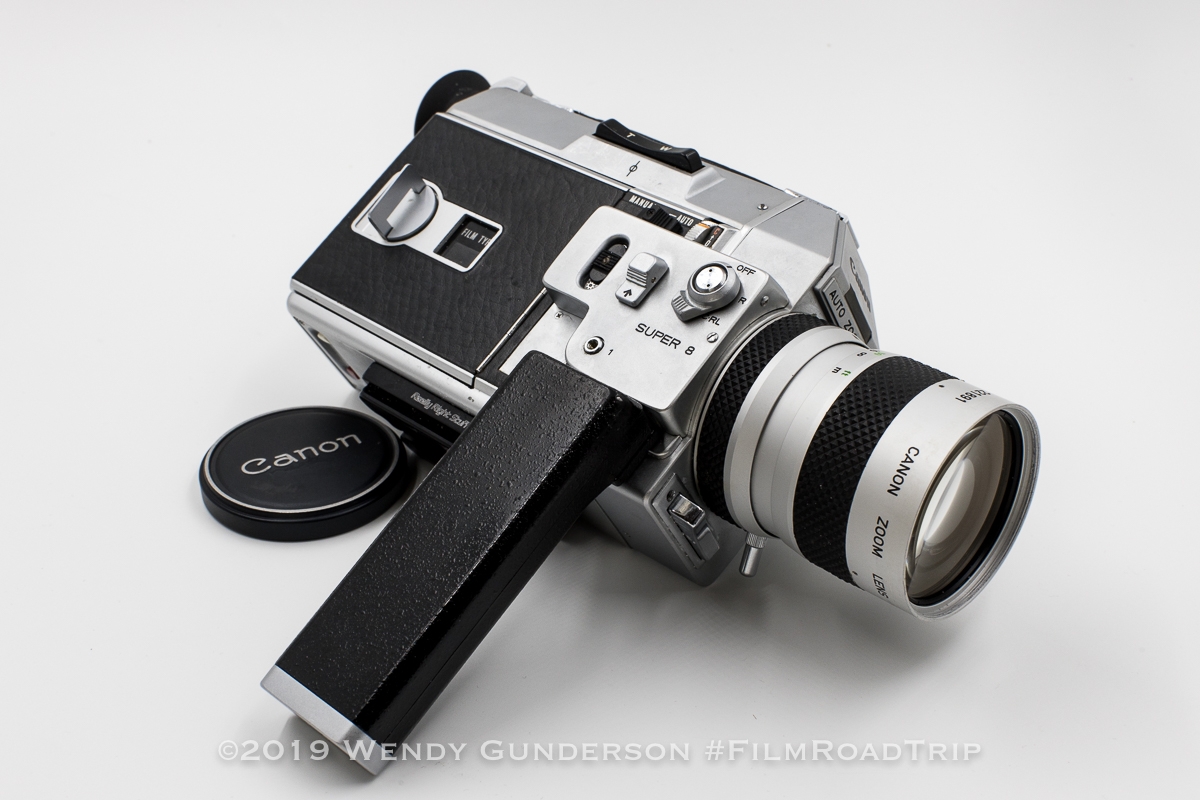
To focus, turn the zooming ring to obtain maximum magnification, and then turn the focusing ring to focus. Now when you zoom out to your desired focal length, your subject remains in focus. Next, check your exposure meter. To be properly exposed, the needle should be between the two marks on the meter visible in the viewfinder. If it’s in the red zone to the left, meaning you are overexposing, add a neutral density filter. I set it to Auto Exposure to test the camera out, but you can choose manual exposure. Now just press the trigger and roll! A handy film counter is automatically reset when you insert a cartridge. It counts up, reflecting the film used. A cartridge holds 50 feet of film, so you’ll see a red number 50 on the counter indicating that you’re at the end.
Shooting Super 8 in the Caribbean
Given that Anguilla is super sunny, my film would have been overexposed without an ND filter. I used a variable ND filter and tried to dial in the right amount. It appears that I overcompensated when I shot the Ektachrome, as it appears underexposed, for at least the first half of the film shot:
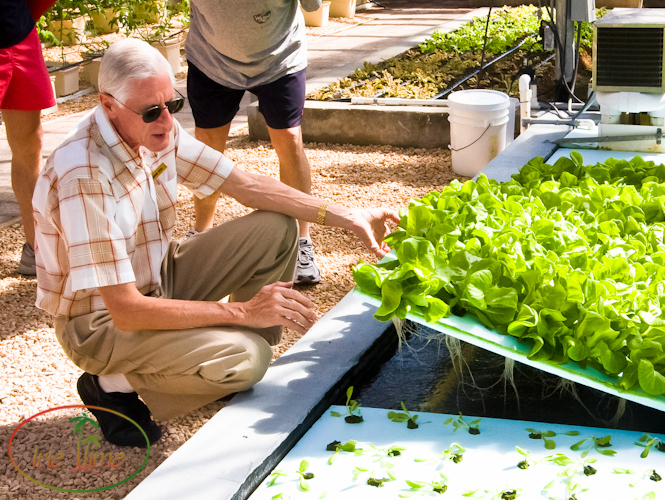
The film of the hatching of hawksbill turtles on the beach looks better, likely because I shot it on the 50D. I did notice that when I zoomed in to get a closeup view of the turtles, every little jiggle in my hands was noticeable. I didn’t have time to set up a tripod, and handholding this camera is not easy – – it’s nearly three pounds.
Processing Super 8 Film
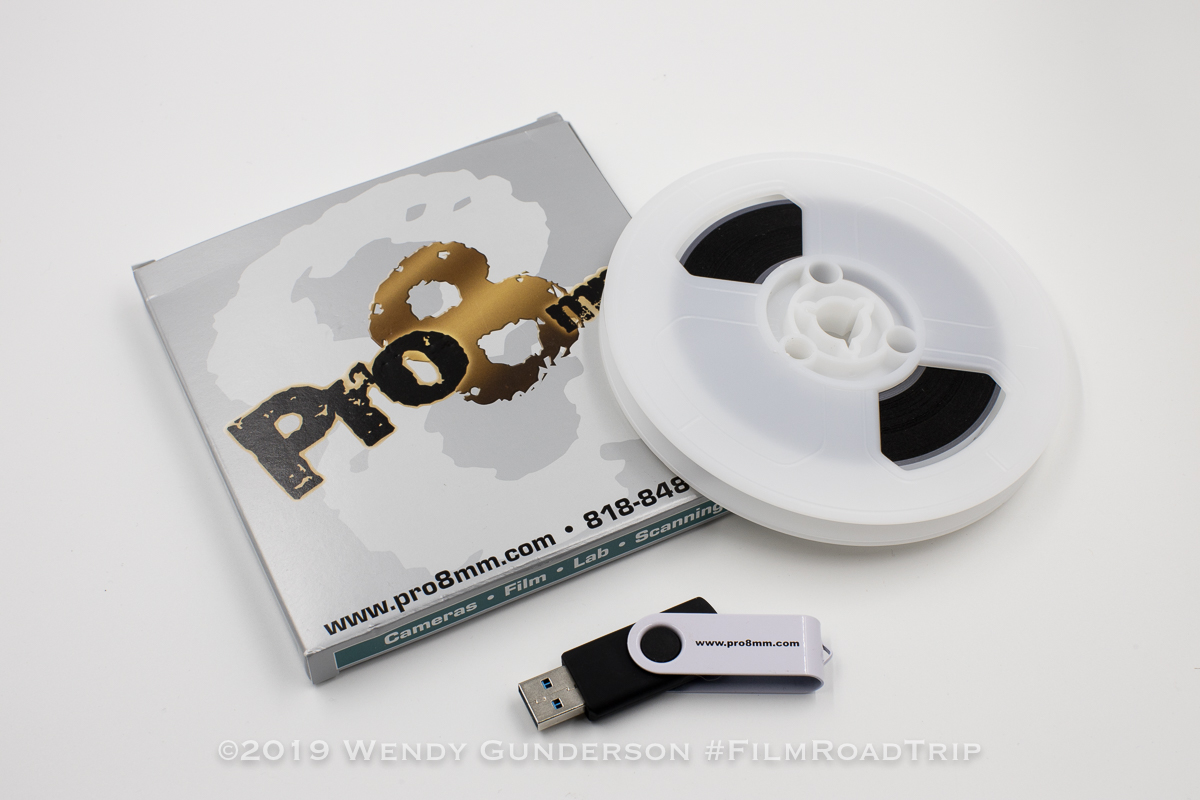
So how do you process the film? Short answer is, I don’t. I sent it out to Pro8mm who quickly turned around my film and sent me the film rolls and a thumb drive of the scanned film. It’s not cheap, but the service was excellent.
I understand that the Film Photography Projectis now scanning Super 8 film, in addition to selling a wide variety of movie film, so I will be checking it out on my next rolls!
It was fun to play with the camera and the film had a cool nostalgic look to it. There are things I would do differently. First, my footage is pretty boring. I shot way too long on one subject. I think it would be a lot more compelling to have quicker shots of multiple subjects. Second, I would be careful with the ND filter to avoid overdoing it. Give it a try!
For more on the turtles, check out the shots from my Mamiya 6!
This post originally appeared on our film photography site, Film Road Trip.