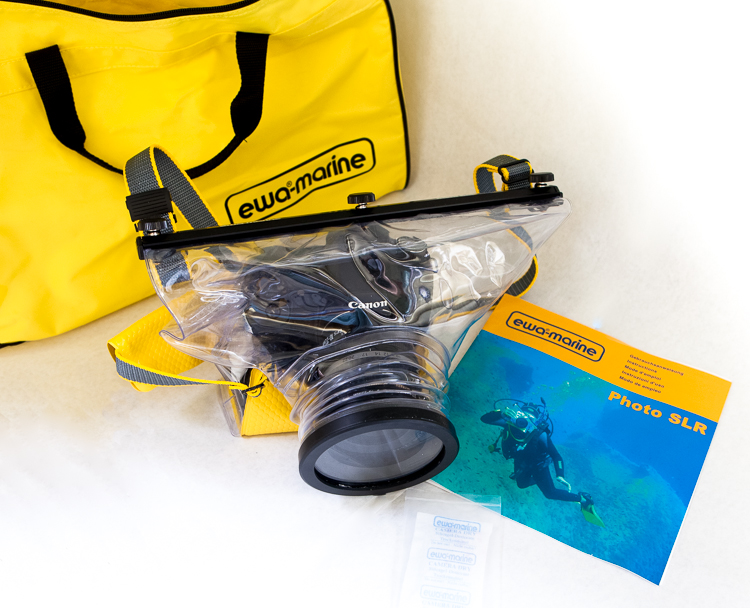
The crystal clear water in the Caribbean begs you to explore below the surface. Whether you are a diver, a snorkeler, or just like to get your feet wet, there is a desire to capture the beauty of what we see below the surface. I took diving certification class, and although I was a wiz at the classroom work, due to some ear problems, I was unable to descend below 12 feet, but that didn’t mean I was giving up the desire to explore below the surface. On our trip to the BVI, I had a GoPro Hero2 which was a lot of fun to play with and capture video. However, I wanted better images. I wanted to take a DSLR below the surface, and I wanted to try my hand at over/under shots, where the camera is positioned half above and half below the water surface. Too chicken to risk my main camera, I was looking for something to accommodate my older DSLR, and maybe in the future, move up to my main camera. I did not care for bags, having seen leaks in a $25 bag for an old digital point-and-shoot, but I was not willing to spend three times my camera’s value for a hard case. I was looking for something in between, a housing which did not break the bank, gave me a decent amount of control over the camera, and had better optical quality than putting a sheet of vinyl over my camera lens. I found the solution in the Ewa-Marine UB100 Underwater Housing .
The Ewa-Marine UB100 Underwater Housing is not like cheap bags I’ve had before. The Ewa-Marine UB100 is manufactured with double laminated PVC which although heavier than the cheap bags, is soft and pliable to the touch. It closes not by rolling the plastic, but by a metal clamp with three screws to be certain it stays closed. It doesn’t cover your lens with plastic, but instead has a built-in, optically-neutral glass port. It is recommended to read the instruction booklet thoroughly, but here is the quick version of how it works. Included in the kit is an adapter ring which screws onto the front of your lens like a filter. The one included in the UB100 kit is a 77mm filter size. It will also work with an 82mm lens with a different adapter, purchased separately. The UB100 kit is a part of the UB series. The standard housing works with filter sizes up to 72mm.
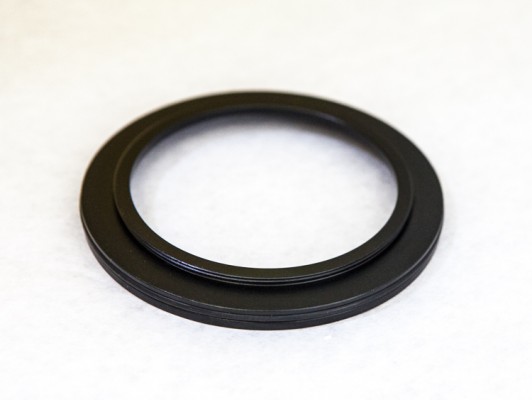
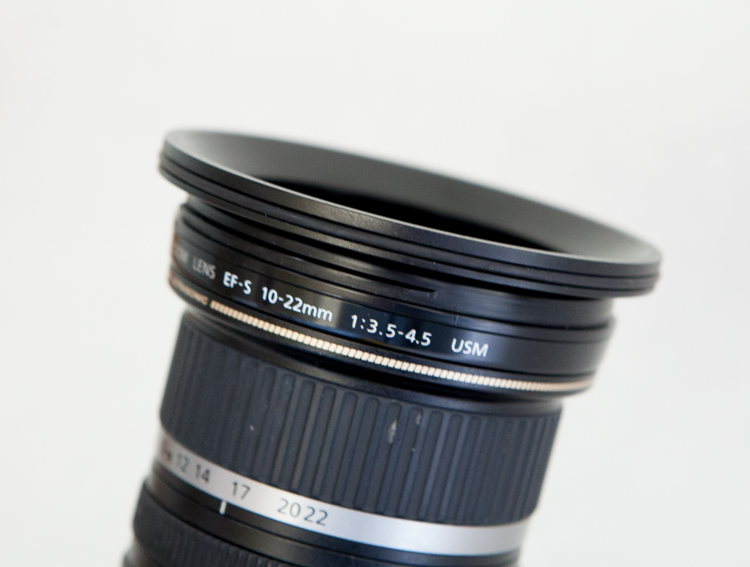
Once the adapter is screwed onto the front of the lens, you slide the camera into the bag and snug up the lens to the glass port. There is a foam cushion at the bottom of the bag upon which your camera rests. If you have a grip on and need more room, you can remove that pad.
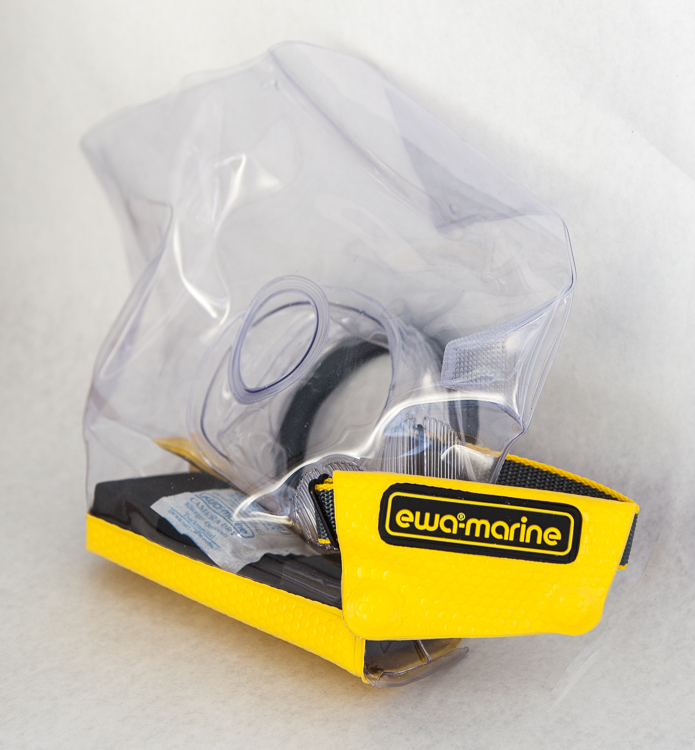
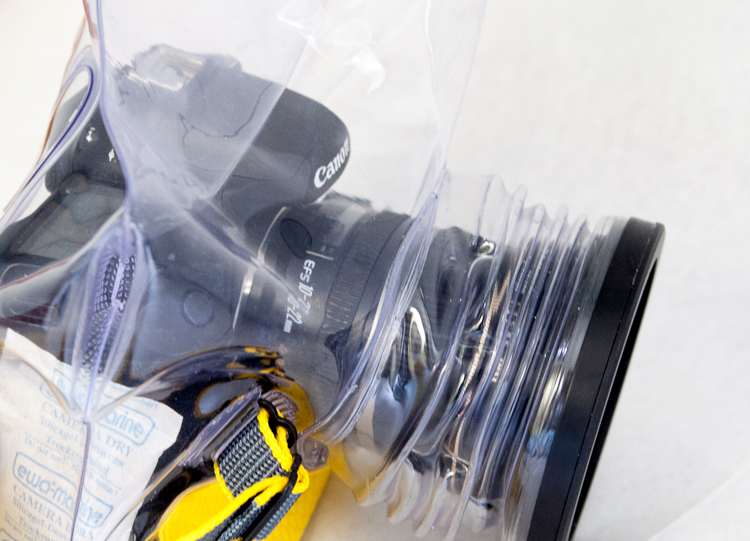
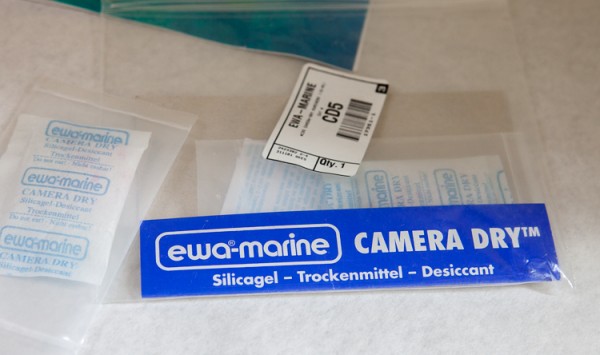
Included in the kit are a couple Camera Dry desiccant packets. These are useful because they change colors when exposed to moisture, from blue to pink.
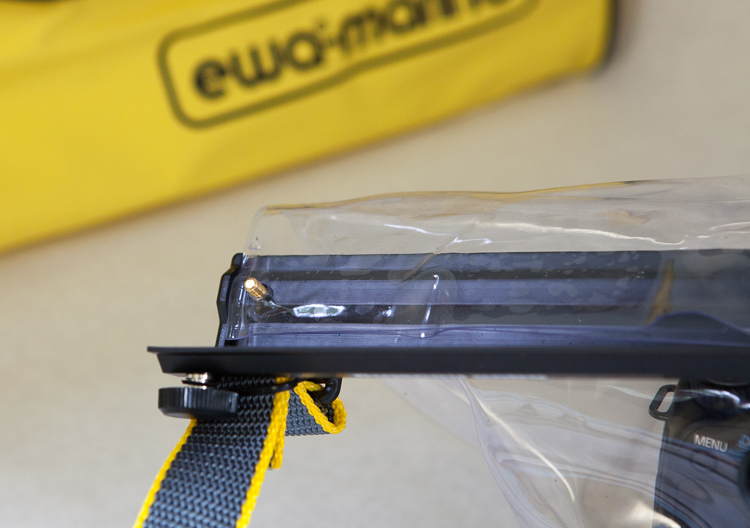
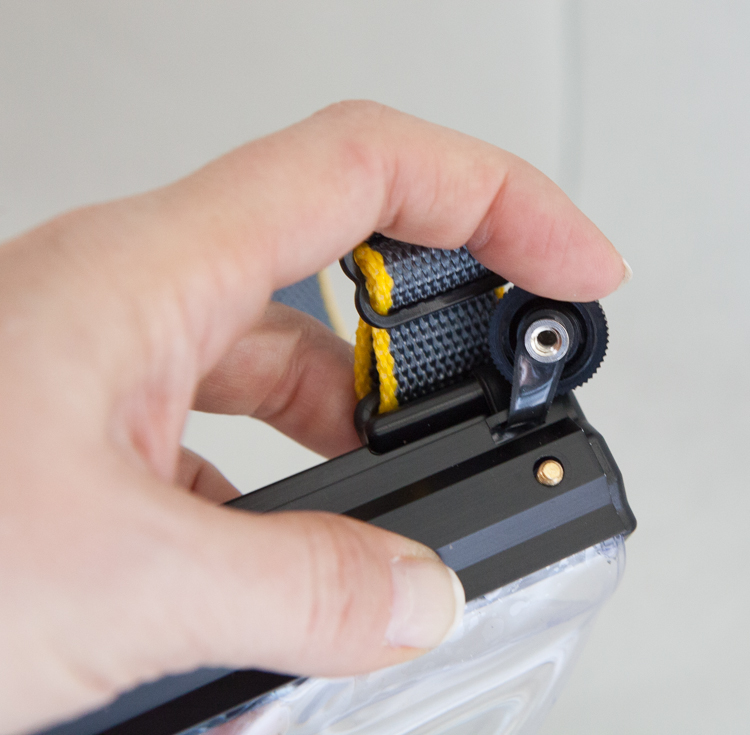
To seal the bag, line up the three holes at the top of the bag onto the sealing bar. The sealing bar is then closed, and you tighten the screws. Avoid tightening too much or your risk damaging the screws. It is highly recommended that you test the tightness of the housing before each use. I used a sink full of water to test it out before using.
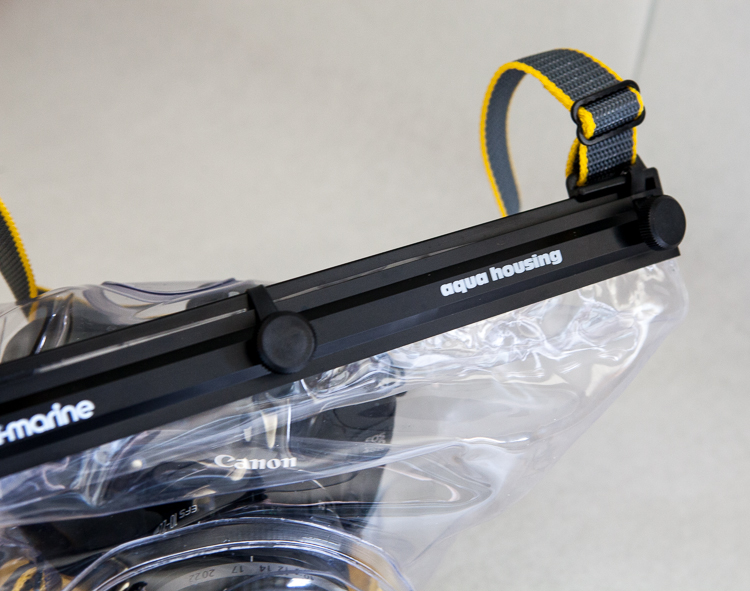
Once the camera is inside, you can operate the shutter and spin the top wheel using the finger pocket. Given that it is a bag, control over the functions is limited.
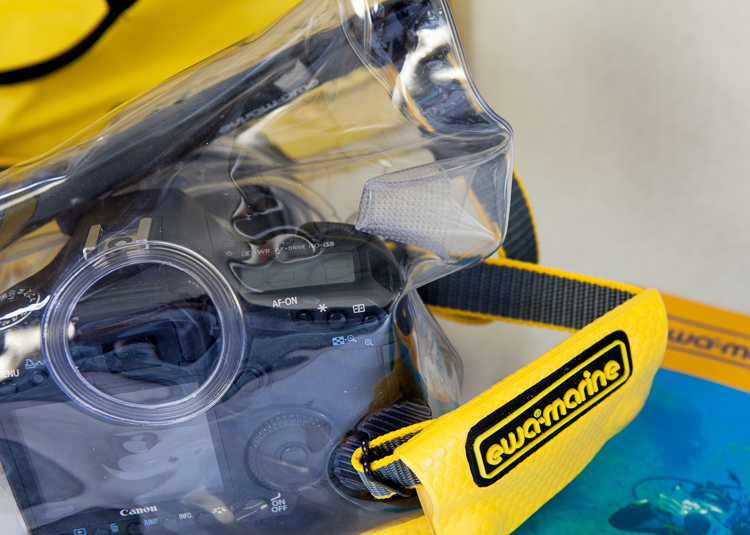
Also included is a handy carrying bag which has a waterproof interior.
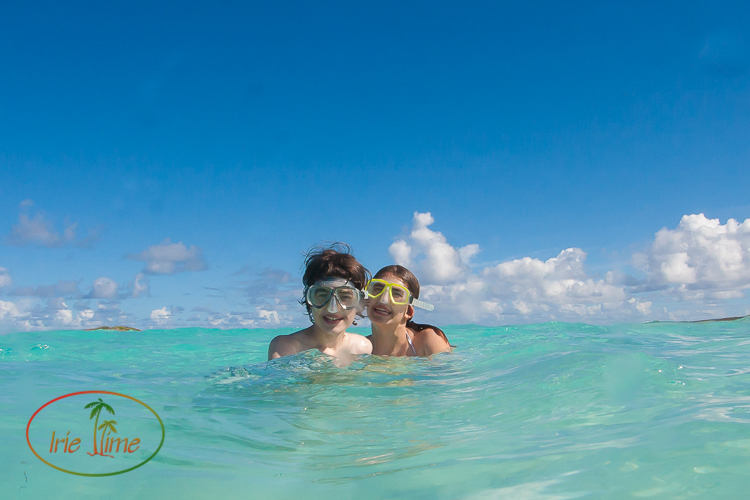
Unfortunately, I didn’t capture anything remarkable while snorkeling in Eleuthera. We saw a barricuda circling us, but unfortunately we had left our camera gear behind at the time. I did take it out to do some over/under shots. The water was clear, but given the weather that week, was pretty choppy, so I had a hard time getting a shot with both the above and below water subjects being clear. I did wander out in the water to shoot some photos of my kids. This shot was taken with the camera partially submerged in water, but the lens completely above water. This shows that the bag does not impair the quality of the image.
This image is with the lens partially submerged.
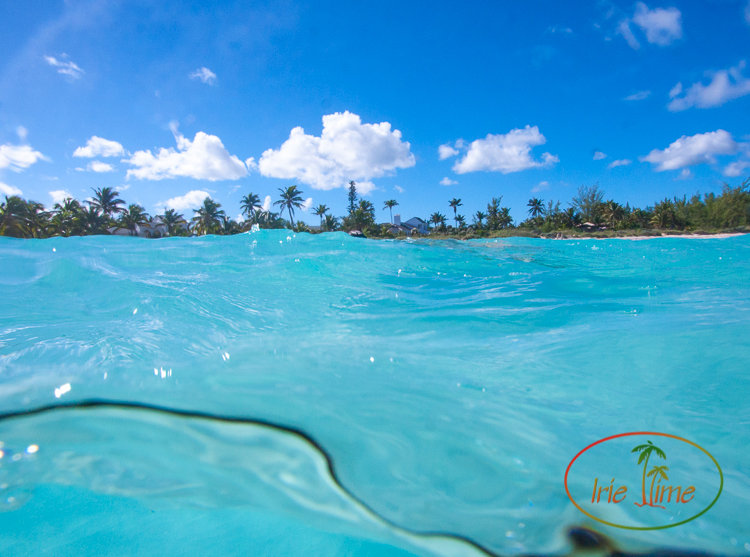
This image is with the bag completely submerged.
I adjusted the white balance on these photos. Unfortunately, we didn’t have the greatest weather this trip, but I plan to give this rig a more thorough workout on this year’s trip to Anguilla.
Be sure to follow the instruction in detail. We made sure to completely wash out the housing after using it in the saltwater environment, and have stored it with the Camera Dry desiccant packs.
The is far more limited than a hard underwater housing, but it also doesn’t cost over a thousand dollars. It is a good compromise for getting better images underwater without breaking the bank.

As of today, have you had any leaks while using the housing in the past couple of years? I have a D750 with 24-70mm nikorr lens. i’m a bit hesitant to put my one and only camera in the housing. I live on an island and I’m constantly in the water. What you would you recommend? Shall i get it?
I use mine very infrequently, but have had no leaks. It is a less expensive solution to the camera housing need, but it is still a bag. It’s far more durable than other bags I have used, but if it will be used constantly, I would say it’s a better solution to save up for a dedicated housing. Those sometimes cost more than the camera itself, unfortunately. If that’s not in the cards, it might be a better solution to buy an older body and less expensive wide angle lens and keep that for your underwater work and use a bag like this. I used my older body for the same reason. It might be the safest and least expensive solution.